Rewards



Braided ribbing is a three-stitch rib where two of the stitches cross each other on every row. Because the cross happens on both sides, the rib twists tightly and looks like a small plait.
It's an intermediate stitch. The knitting is only knits and purls, but the twist is worked without a cable needle by knitting into the second stitch first, and doing that on the purl side takes some practice.
The one thing that makes it work: don't slide either stitch off the left needle until both have been worked. Work the second stitch, then the first, then drop both together.
Watch: Braided Ribbing Video Tutorial
Watch the wrong-side twist on Row 2 closely: reaching past the first stitch to purl the second is awkward at first, and the video shows the hand position that makes it manageable.
What You Need
Yarn: the swatch is written for medium (worsted) weight yarn. The twists pull the fabric in, so a yarn with some bounce, like wool, is easier than a yarn with no give. A smooth, light-colored yarn shows the braid best while you learn.
Needles: US 9 (5.5 mm), or the size that gives the listed gauge. Pointed tips help with the through-the-back-loop stitch.
Stitch multiple: a multiple of 5 + 2. The swatch casts on 32.
Abbreviations (US terms): CO = cast on; K = knit; P = purl; tbl = through the back loop. "Knit the second stitch, then the first" means you work the second stitch on the left needle while leaving the first in place, then work the first, then slip both off.
Braided Ribbing Written Pattern
Size: 6"x6"
Gauge: Stockinette | 4" = 20 Stitches | 12 Rows
Yarn: Medium Weight Yarn
Knitting Needle Size: US 9 (or size to achieve gauge)
Stitches worked over a multiple of 5 + 2
Abbreviations:
CO - Cast on
Tbl – through the back loop
CO 32 stitches.
Row 1: Purl 2 *knit 1, knit the second stitch tbl, knit the first stitch, purl 2, repeat from * to end
Row 2: Knit 2 *purl 1, purl the second stitch, purl the first stitch, knit 2, repeat from * to end
Repeat Rows 1 and 2 until piece measures 6” from cast on edge.
Bind off, weave in ends, & block to 6x6” square.
Step-by-Step: How the Stitch Works
- Cast on 32 and purl 2. Each five-stitch repeat is two purls and a three-stitch rib; the extra two stitches give you a purl gutter on both edges.
- Knit 1. The first stitch of every rib is a plain knit column that stays put while the other two twist around it.
- Work the right-side twist. Skip past the next stitch and knit the one after it through the back loop, leaving both stitches on the left needle. Then knit the skipped stitch normally and slide both off. The two stitches have crossed.
- Purl 2 and repeat to the end of the row. Then turn.
- Work the wrong-side twist on Row 2. Knit 2, purl 1, then purl the second stitch on the left needle before the first, slide both off, knit 2. Because you cross on this row too, the rib twists every row, which is what makes it look braided rather than like a mock cable.
Tips and Common Mistakes
- Keep the skipped stitch loose, or it's hard to knit afterward and the braid looks pinched.
- Never drop the first stitch until the second is worked. The most common mistake is letting it slip off the needle tip as you reach past it.
- The right side shows clean plaits on a knit ground; the purl-twist side is bumpier. Mark it after Row 1.
- It pulls in like any rib, so swatch before sizing a hat or cuff.
- Put a marker after every five stitches so you always know whether the next stitch is a purl or the knit 1.
What to Make With the Braided Ribbing
Braided ribbing is dense and springy, so it's at its best as a trim:
- Hat brim in worsted weight, with a plain body above it. See how to knit a hat for working out the stitch count.
- Mitten and sweater cuffs, where the twist looks like a tiny cable without the cable needle.
- Headband or ear warmer, a one-evening project that shows off the braid.
Related Stitches
- Knit Wrap Mock Cable Stitch — another cable look without a cable needle.
- Knit Baby Cable Ribbing — a close relative that twists only on right-side rows, so it's a little easier.
- Knit Rib Stitch — plain ribbing, worth knowing before adding twists.
- Knit Cable Stitch — the full cable technique, once the small twist feels natural.
- Browse every knit stitch tutorial — the full Stitch Learning Center index.
Yarn for This Stitch
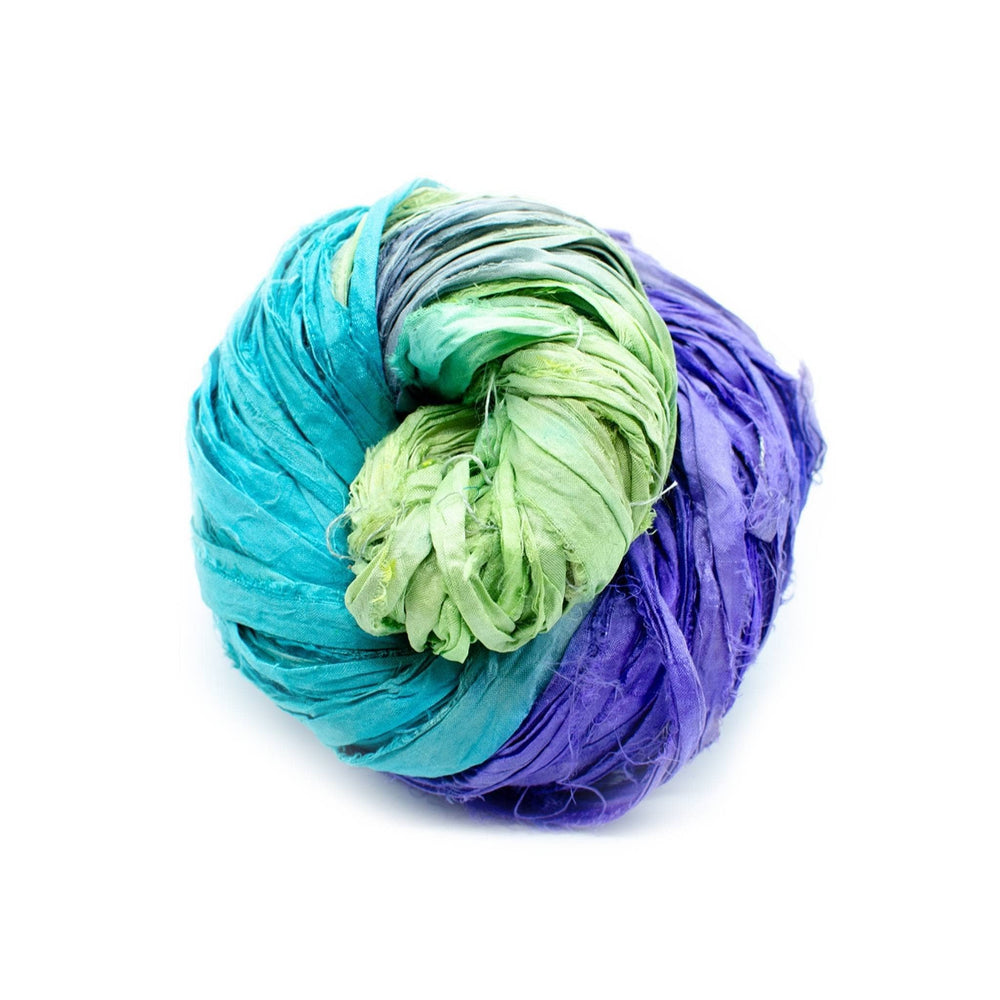
Braided ribbing needs a yarn with some bounce so the twists can be worked without a fight; look in the worsted weight yarn collection for a smooth wool or blend. Recycled silk works too, on a needle one size larger, since silk has less give.
If you'd like a new skein to practice on every month, Yarn of the Month sends three hand-dyed skeins with a knit and crochet pattern written for them, $29 a month plus shipping.
Braided Ribbing FAQ
Do I need a cable needle for braided ribbing?
No. The twist is a one-over-one cross worked by knitting (or purling) the second stitch on the left needle before the first.
What's the difference between braided ribbing and baby cable ribbing?
Baby cable ribbing twists only on right-side rows, so the cross happens every other row and looks like a small cable. Braided ribbing twists on every row, so the rib looks like a plait.
Is braided ribbing reversible?
No. The wrong side shows the purl twists, which are bumpier and less defined. It still looks tidy, but the braid reads clearly only on the right side.