Written by Kate Curry
Materials
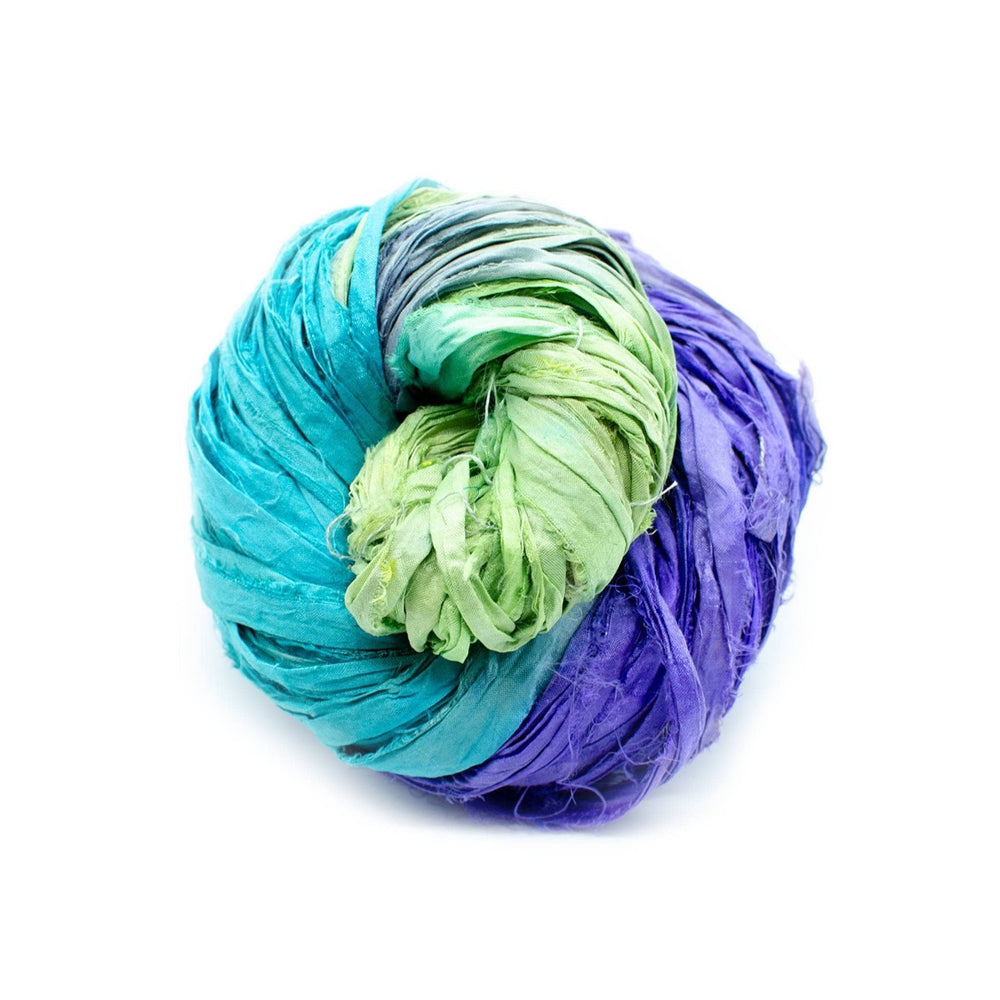
Lace Weight Silk Yarn
Macrame rope - each strand 10”-13” long, depending on your preference
Wire (we prefer floral wire)
Tape
Hot Glue (or fabric glue!)
Scissors
Notes
*If you want your rainbow to be a hanging rainbow, on the top arch, before you wrap it with yarn, make a lark's head knot with an extra strand of rope. Wrap around this stand when you’re wrapping the arch. Knot the end of this hanging strand to create a loop that you can hang your rainbow with.
*Some people like to brush the macrame rope to add a little bit of volume and texture.
*The wire is so important to this craft. Without the wire, it's difficult to wrap the rope evenly and your finished arch is floppy and hard to shape.

To adjust the thickness of your rainbow arches, add or remove the amount of macrame rope you use for each arch. Here are what some amounts of rope look like:
10 strands
6 strands
4 strands

Let’s Go!
Step 1: Gather the strands of your macrame rope and 2 strands of your wire. Shape the rope and wire into an arch shape and secure them together with tape at the ends.
Step 2: Using a tight knot, attach your yarn to the center of the arch and begin wrapping your yarn around the rope and wire. The more times you wrap, the thicker your color will be. Feel free to change colors or choose yarn with funky colorways.
Step 3: When you’re done wrapping, tightly knot the end of your yarn.
Step 4: Remove the tape at the bottom of your arch. Snip off any access wire. You can leave the rope long or trim it to your desired length.
Step 5: Repeat steps 1-4 three more times to create a 4-arch rainbow.
Step 6: When you have your finished arches, shame them and glue them together. Leave them for a few hours to set.


And boom - a perfect rainbow!

 Rewards


