Written by Kate Curry
Materials:
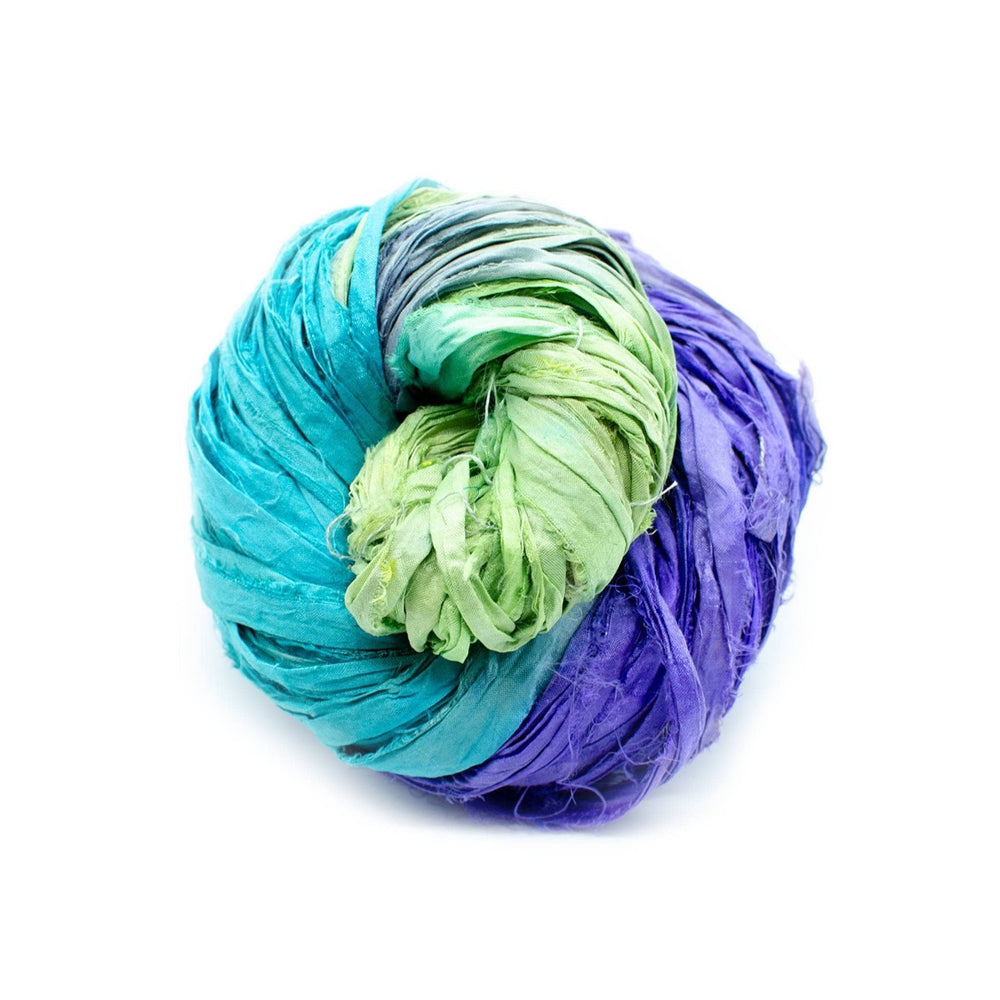
- 1 Skein of Sparkle Worsted Weight Reclaimed Silk Yarn - pictured in malachite.
- Scissors
- 4.50mm or 5.00mm Crochet hook
- 6.50 mm crochet hook
- Darning Needle
Techniques:
Chonk up that yarn
Abbreviations:
MR: Magic Ring
Transcript:
Hi, everybody it's Julia from darn good yarn and today I have a crochet technique video for you. I'm going to show you how to make a magic circle. A magic circle can be used for the start of a hat, for anything actually that's really circular. So, you start with a small circle in the middle and then you generally work outwards. Alright, so the first thing you're going to want to do is take your tail of yarn and you are going to lay it on top of your pointer finger and your middle finger. Wrap it around once and then wrap it again so you have an X here on the top of your fingers. So, you are gonna go underneath this first one and grab the second piece and then you're gonna go over top of this first one, grab the second one again and then you are going to pull through. So, now you're gonna have a circle here and you're gonna have your working yarn in your tail coming off of it.
So, generally people will work double crochets or single crochets into here and how you're going to do that is you're going to insert it into the circle, yarn over, pull up a loop, yarn over, and pull through. So this is just how to do single crochets in here. So you're going to insert it into the circle, yarn over, pull through, yarn over, pull through and you can kind of just keep doing that obviously following the pattern that you have but again like I said earlier, generally hats will be started like this so this would be like the top of a hat or an amigurumis are started like this. Just different things like that way you would need a circle. So, depending on how many that you need in this circle, usually when you get back to the beginning you can still have you slip stitch to the first one and thenhave you start another row and that is how you do the crocheted magic circle.
Thanks for watching this video, if you've liked it give us a thumbs up and if you want to see more crafty tutorials and tips hit the subscribe button
DC: Double Crochet
Transcript:
Hi, everybody its Julia welcome to this video on how to do double crochet stitch of the month square. So, I have chained on 28 stitches and now we are going to start double crochet so you are going to yarn over your hook and then go into the third chain from the hook. So one, two, three, insert your hook, yarn over, pull through, one yarn over, pull through two, yarn over, pull through two. So, again we're going to yarn over, insert your hook into the next stitch, yarn over, pull through one, yarn over, pull through two, yarn over, pull through two, and we're just going to keep doing that all the way down the row until we get to the last chain.
Okay so, once you get to the last stitch here make sure you make your way all the way to the end. You're going to finish with your double crochet and you're going to chain two and then flip your work and then do the same thing all the way down. So, we're going to yarn over, go into the third chain from the hook or the base of the chains, which is right here - do a double crochet, double crochet all the way down and you're just going to keep doing that until your square gets to be a perfect square.
So, I hope you enjoyed this video of learning how to double crochet and how to do the stitch of the month square. I'll see you next month! [Music]
TS: Treble Stitch
Transcript:
This video will demonstrate the treble crochet stitch. I've started by making a row of treble crochets, just to make it easier to show the turning chain and um adding an additional row. You'll see some differing opinions on how high to make your turning chain, I like to use three chains. One, two, three that chain three will count as a first stitch, so you can go ahead and skip this first stitch as you move on. A treble crochet is just a bit taller than a double crochet, so instead of wrapping around just once as we would with a double crochet, we're going to yarn over one more time before we begin. So, you're going to yarn over twice, insert, pull up a loop, and you'll have four loops on your hook.
You'll yarn over, pull through two, yarn over, pull through two, and yarn over, pull through two again that's how we create our treble crochet. I'll show you that again - we're going to yarn over twice, insert into our next stitch, and pull up a loop, and you'll have four loops on your hook. Yarn over, pull through two, yarn over, pull through two, and yarn over, pull through two, and you'll do that all the way across your row bearing in mind to work into that turning chain because it does count as a stitch
CH: Chain
SS: Slip Stitch

Pattern:
Making Some Hearts!
Step One: Using your crochet hook form a magic ring. Make sure the tail is nice and long
Step Two: CH 2
Step Three: Into the MR, do 3 TS
Step Four: Into the MR, do 3 DC
Step Five: CH 1
Step Six: 3 DC into the MR
Step Seven: 3 TS into the MR
Step Eight: CH 2
Step Nine: SS into the ring
Step Ten: CH 1
Step Eleven: Snip a long tail (about 5 inches) of your working yarn and pull it through the last CH
Step Twelve: Pull both tails tight, creating the heart shape. Leave the tails for now!
Making The Cord

Step One: Triple ply your yarn using the technique shown in the video above (I call this chonking the yarn)
Step Two: Using your 6.50mm hook, CH 152 to create the garland cord
Step Three: Snip a long tail on the working yarn and pull the final chain through the loop. Create a double knot through the loop created by the last chain.
Attaching The Hearts
Using your darning needle, thread the tails of your hearts. Weave those tails into the stitches in the chain and through the top of the heart. Knot and pull tight!

 Rewards


