BEFORE YOU GET STARTED
Simple assembly and bold finish? That's our kind of project!
We love this wall hanging so much, we made it ourselves as a team. Make a wall hanging that reflects your style around the home. No-weaving, knitting or crochet required! A quick and easy project to add a pop of festive flare for any holiday, and perfect for kids.
MATERIALS
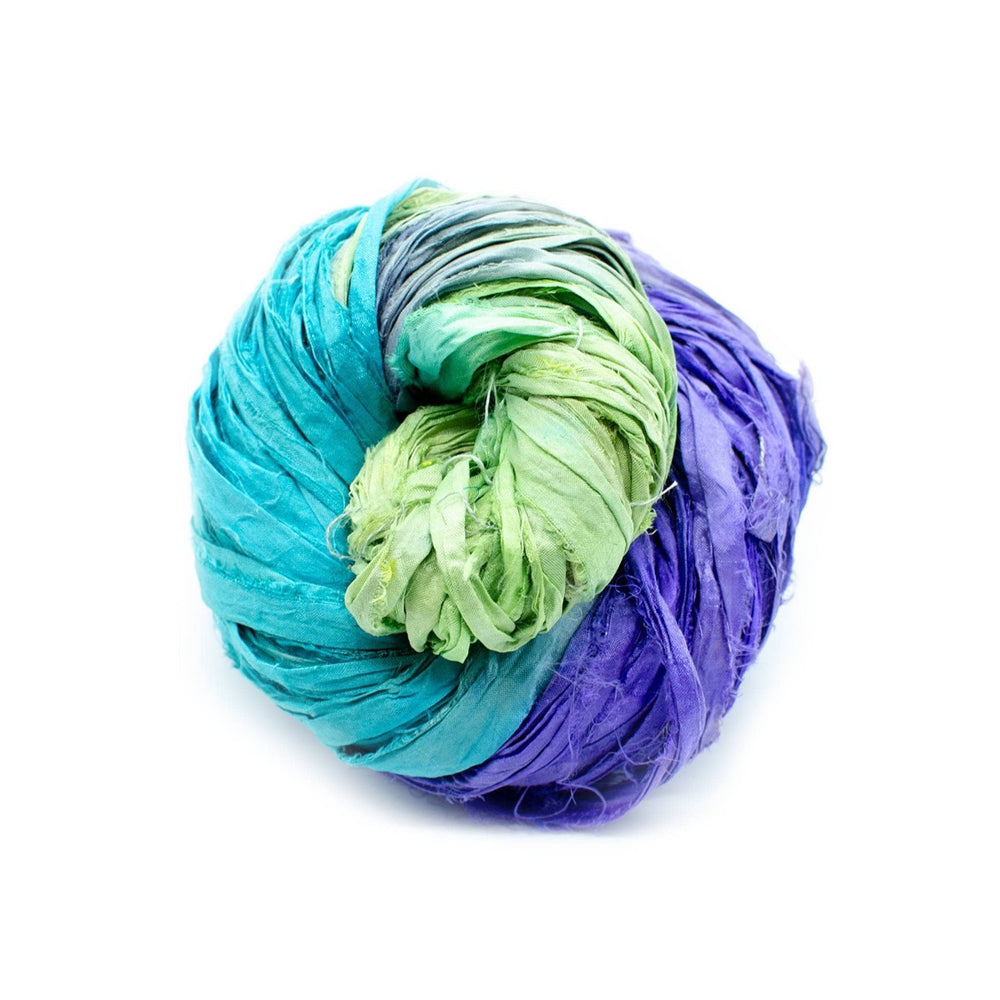
- DGY Chiffon Ribbon Yarn (vary colors based on preference)
- Scissors (not included)
- Crafting Hoop (not included, size can vary based on preference)
STEP BY STEP INSTRUCTIONS
STEP 1: Unwrap your skeins of Darn Good Chiffon Ribbon Yarn. Straighten and stretch the yarn out as pictured.

STEP 2: Cut the looped ends of your yarn, creating long strips.

STEP 3: Select the color that you'd like to start with. Fold the strip of yarn in half, and loop the folded yarn around the crafting hoop. Tuck the yarn ends through the loop and pull through.
Pro Tips:
- Be careful not to pull too tight as to not tear the yarn!
- For a thicker look, you can double up and use two strands of yarn at a time.

STEP 4: Repeat step 3, wrapping additional yarn around your craft hoop, rotating colors to achieve your desired final look.

STEP 5: Cut an extra piece of ribbon yarn to hang your hoop from. Wrap it around the hoop just as you you have the others, but tie the loose ends in a knot.

STEP 6: Hang your wall hanging and use scissors to trim the ribbon ends - you can cut the ends to be in any shape you'd like - we chose to do ours as an inverted bell curve.

FINISHED LOOK:

 Rewards


