BEFORE YOU GET STARTED
This tutorial is brought to us by the talented Rachel Castro, a graphic designer and passionate DIY'er located in Troy, N.Y.
Ever since I saw Kelly’s yarn wall hanging, I knew I wanted to recreate it in my own way. I love her colorful look but wanted to take it a step further by adding even more texture, as well as feel good about the materials I’m using for it.
This is a great project to make using your yarn scraps! Or just pull together your favorite Darn Good Yarn. Check out what I used below.
MATERIALS:
- 2 Skeins of DGY Banana Fiver Yarn (Sunflower)
- 1 Skein of DGY Sari Silk Ribbon Yarn (Beige)
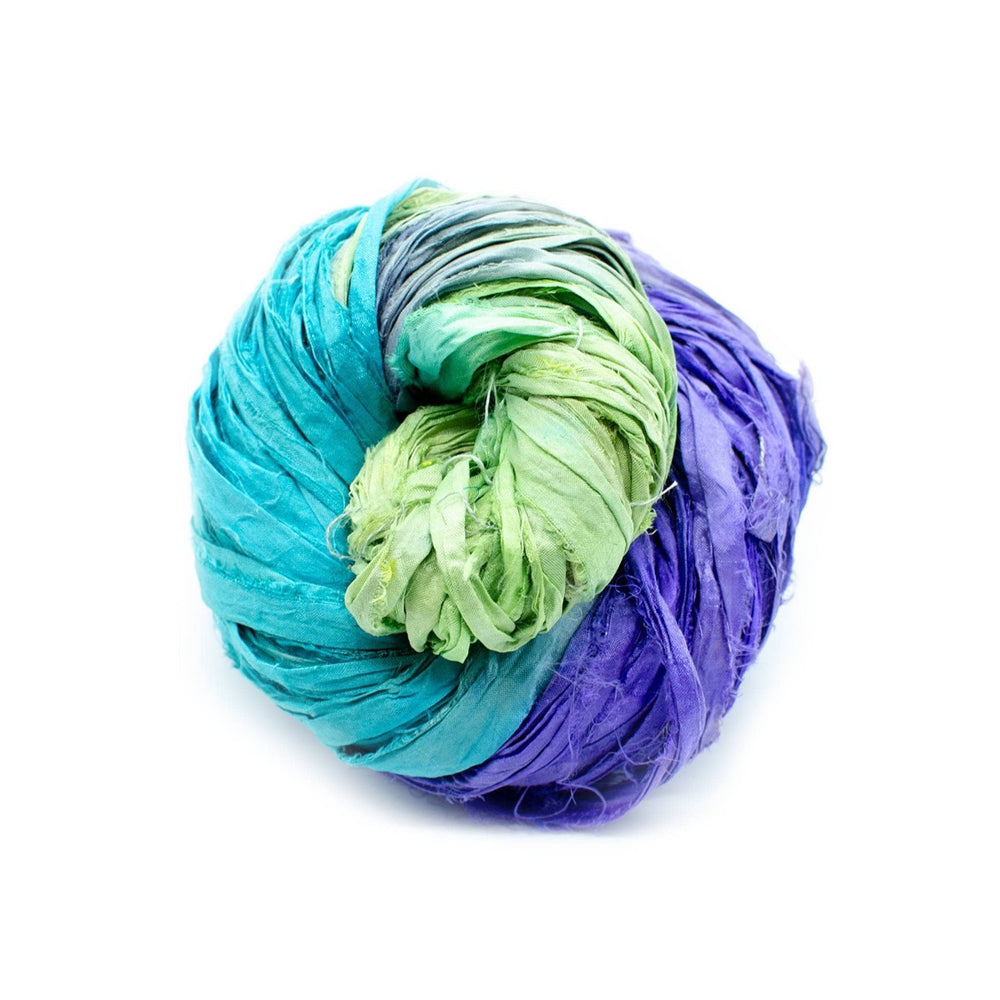
- 1 Skein of DGY Sari Silk Ribbon Yarn (Sea Foam)
- 1 Skein of DGY Handmade Thick & Thin Wool Felt Ball Yarn (Turquoise)
- 1 Skein of DGY Super Bulky Recycled Silk Yarn (Mermaid Splish Splash)
- 1 Wooden Dowel cut to your desired length
- 1 pair of Scissors
- Screw Hanging Hooks
For my overall look, I wanted a mix of textures so I chose a combination of yarns as well as knots and style of hangings. My home is decorated in mostly blues and yellows with splashes of pinks, reds and teals. I really gravitated to the sunflower banana yarn for its color and was intrigued to learn it was made from a banana tree! I fell in love with it once it came in - the texture is is so cool and it’s definitely not something you can find in your typical craft store.
CLASSIC HANGING
This is the foundation of the wall yarn hanging, the most simple and classic components:
- Start by wrapping your yarn strand around your bar and cutting it to the desired length. I used 10-15 strands depending on the thickness of the yarn for this section.
- Gather up all your pieces and loop it around the bar to secure it.
- If it’s too long you can trim it up
FRIENDSHIP BRACELET KNOT
Raise your hand if you were part of the friendship bracelet club when you were 12?! 🙋♀️🙋♀️ They were the best!! I googled a few of the knots and changed them a tad to work for this larger version. If you’re using a this knotting method, make sure to almost double your desired length of your starting pieces, as it will shorten!
- Start by wrapping your strand around your bar and cutting it to the desired length. I used 10-15 strands depending on the thickness of the yarn for this section.
- Gather up all your pieces and loop it around the bar to secure it.
- Start by selecting two of the strands from the left and right side of your section
- Take the two strands on the right and cross them over the whole section
- Take the two strands on the left and cross them over the whole section. Tuck it under the right two strands
- Pull the left and right two strands to finish the knot.
- Take two NEW strands on the left and right from the back of your section and repeat steps 4-6.
- Keep rotating the two strands you use on the left and right so you’re not always using the same one.
BRAID
- Start by wrapping your yarn strand around your bar and cutting it to the desired length. I used 10-15 strands depending on the thickness of the yarn for this section.
- Gather up all your pieces and loop it around the bar to secure it.
- Divide your section into 3 sections.
- CrosS the right section over the middle section then under the section on the left.
- Repeat until the end
- Knot the whole section to secure it.
TWIST
- Start by wrapping your strand around your bar and cutting it to the desired length. I used 10-15 strands depending on the thickness of the yarn for this section.
- Gather up all your pieces and loop it around the bar to secure it.
- Take one pieces and loosely wrap it all the way around your section and loosely knot it to it self at the end.
The great thing about this DIY is that it leaves so much room for creative interpretation, and it's so versatile. I already have a light fixture in the works!

 Rewards


