BEFORE YOU BEGIN
Enjoy this note from the designer, Emily (aka @MakingWIthMommy):
We created these Darn Good Yarn-wrapped bumblebees using a couple of our favorite products from Darn Good Yarn! Making animals is one of my favorite craft projects to do with my kids. Nothing seems to engage them as much as learning about a new creature and making one themselves! This craft is great for kids of any age and parents to make together. The colors and textures of the yarn we used really make it something special! Continue reading to learn how you can make your own!
MATERIALS

-
Cardboard
-
Black and yellow acrylic paint
-
Hot glue gun
-
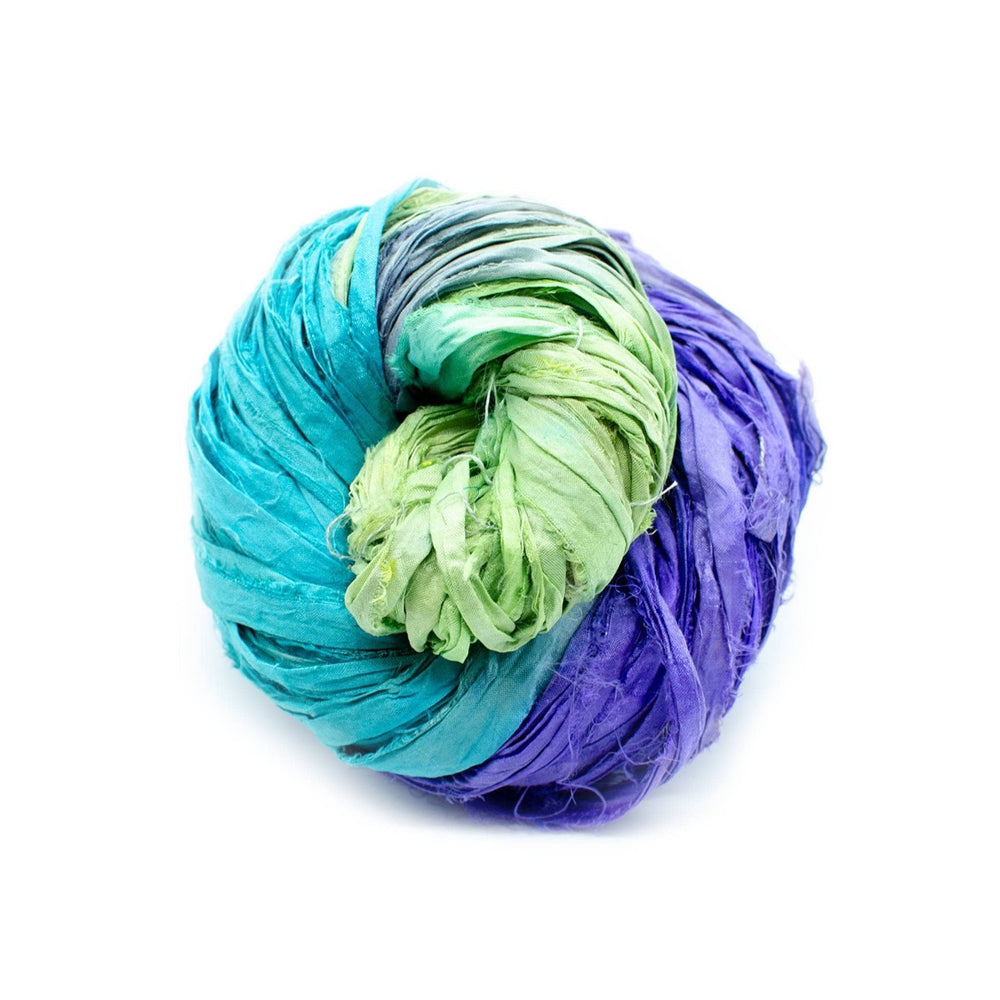
Darn Good Yarn of your choice! We used Recycled Silk Yarn in “Wild Peacock” and Recycled Silk Handspun Yarn in “Punky Chunky”
-
Hole reinforcer stickers (could substitute googly eyes or bottle caps)
-
Black construction paper
-
White tissue paper
-
Clear contact paper
How to Make Yarn Wrapped Bumblebees:
Step 1: Download these templates. Use them to trace the bee body and head shapes onto your cardboard. Cut these pieces out. Pain the head with black paint, then paint the body with yellow paint (we added a drop of black to our yellow to make it more of a cold color!).

Step 2: Use your glue gun to glue the bee’s head onto its body. Glue one end of your yarn (we used the Recycled Silk Yarn in “Wild Peacock”) to the back of the bee’s body, towards the bottom. Wrap your yarn around and around the bee’s body to create the stripes. Once you reach the top of the body, trim your yarn and glue it to the back of the bee.


Step 3: Flip the bee over so that the back is showing. Cut some pieces of yarn (we used the Recycled Silk Handspun Yarn in “Punky Chunky”) to be antennae and legs. Glue each leg and antenna onto the back of the bee.


Step 4: Create the wings. To create the wings, use the template to cut two of the wing shapes out of black construction paper. Cut out the center of each wing so that a roughly 1/4” remains around the edges. Cut your white tissue paper into small 1” by 1” squares. Cut a piece of contact paper twice the size of each wing. Remove the backing from the contact paper and place the black construction paper wing onto the sticky paper. Cover the interior of the wing shape with white tissue paper. Once covered, fold the rest of the contact paper over so that the wing is now sandwiched between the contact paper. Trim the excess contact paper from around the edges and you have a completed wing!


Step 5: Glue the two wings onto the back of the bee, near the top of the body section.
Step 6: Add hole reinforcer stickers (or other choice of eye material) to the bee’s face to create eyes. Cut one more piece of yarn and glue it on as a smile!


 Rewards


