Rewards
Written by Kate Curry
Flint corn, which is often called Indian corn, is a staple of the fall harvest. Known to be grown by the Indigenous Americans, this colorful crop is often seen in fall décor such as wreaths and has become a favorite for those in love with fall. A big festival in fall is Lughnasadh, which is an Celtic festival that marks the beginning of the harvest season. We have a crochet tutorial for you so you don’t have to waste your little niblets to get your fall harvest groove on!
Materials
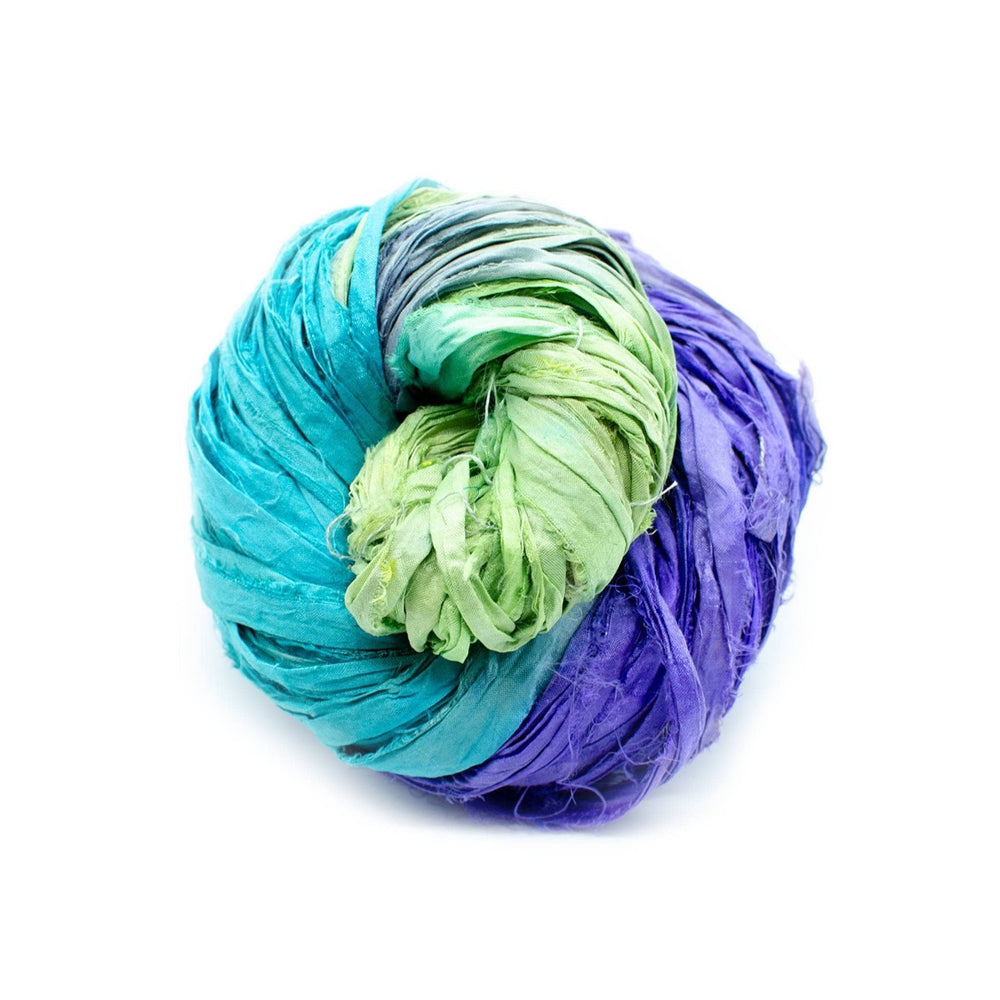
1 skein of Silk Roving Worsted Weight Yarn in Dandelion Poof
1 skein of Sparkle Worsted Weight Silk Yarn in Jasper
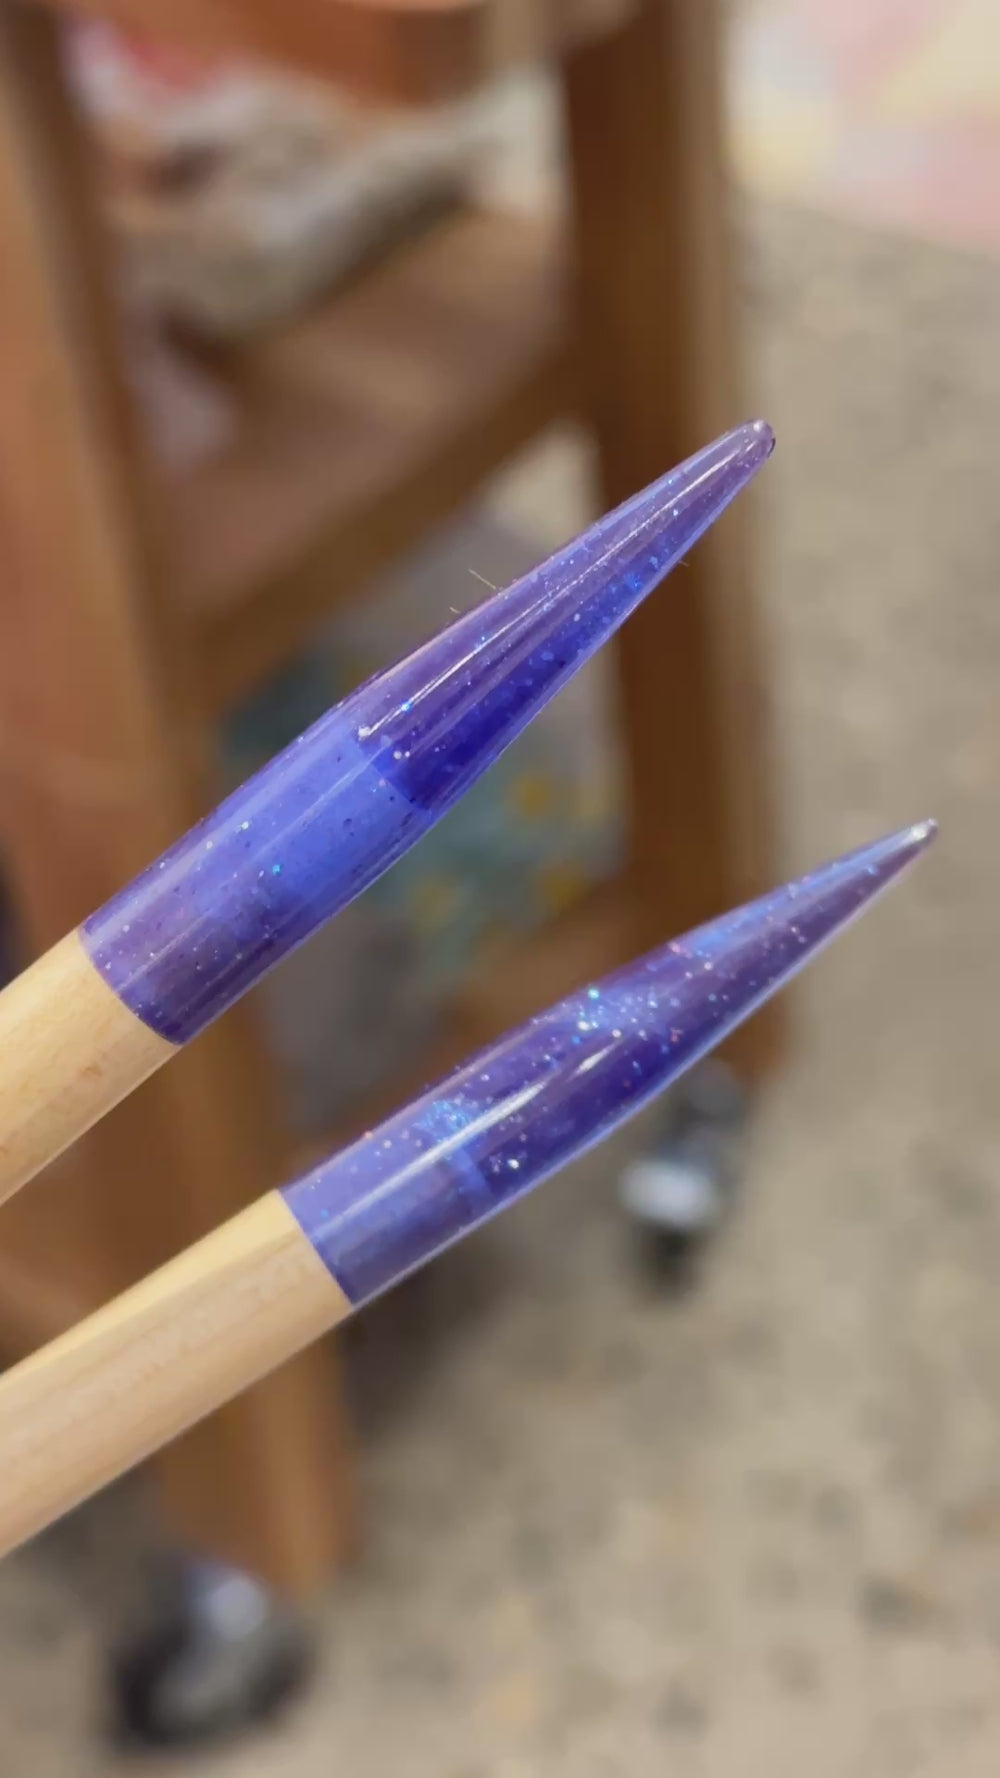
5.0 mm crochet hook
Yarn Needle
Scissors
Notes
By only sewing the husks at the bottom, you are able to have your corn husked or unhusked for your décor!

Sizing
Large Cob: 7 ½ inches long
Small Cob: 4 ¼ inches long
Mini Cob: 2 ½ inches long
Let’s Get Started!
Large Cob (AKA regulation corn cob size)
Row 1: Create a MC and CH 1. Into the circle, create 6 ESC and SLST the circle together
Row 2: CH 1 and ESC the row and SLST to conjoin
Row 3: CH 1 and INC by putting 2 ESC in each CH. Join together with a SLST
Row 4:CH 1 and ESC the row and SLST to conjoin
Row 5:CH 1, ESC into the first CH and INC by making 2 ESC into the next CH. Alternate between 1 ESC and 2 ESC for every CH. SLST to conjoin
Row 6-18: CH1 and ESC the whole row
Row 19: CH 1, ESC into the first CH and INC by making 2 ESC into the next CH. Alternate between 1 ESC and 2 ESC for every CH.
Row 20- 21: CH1 and ESC the whole row
Stuff your corn cob, making sure the bottom of the cob is jammed packed with stuffing.
BO and thread your yarn needle and weave through every ST. Pull your working yarn tight so that the end of your corn cob comes together like a drawstring
Small Cob
Row 1: Create a MC and CH 1. Into the circle, create 4 ESC and SLST the circle together
Row 2: CH 1 and ESC the row and SLST to conjoin
Row 3: CH 1 and INC by putting 2 ESC in each CH. Join together with a SLST
Row 4: CH 1 and ESC the row and SLST to conjoin
Row 5-15: CH1 and ESC the whole row
Row 16: CH 1, ESC into the first CH and INC by making 2 ESC into the next CH. Alternate between 1 SC and 2 ESC for every CH.
Row 17-19: CH1 and ESC the whole row
Stuff your corn cob, making sure the bottom of the cob is jammed packed with stuffing.
BO and thread your yarn needle and weave through every ST. Pull your working yarn tight so that the end of your corn cob comes together like a drawstring
Mini Cob
Row 1: Create a MC and CH 1. Into the circle, create 2 ESC and SLST the circle together
Row 2: CH 1 and ESC the row and SLST to conjoin
Row 3 : CH 1 and INC by putting 2 ESC in each CH. Join together with a SLST
Row 4: CH 1 and ESC the row and SLST to conjoin
Row 5-8: CH1 and ESC the whole row
Row 9: CH 1, ESC into the first CH and INC by making 2 ESC into the next CH. Alternate between 1 ESC and 2 ESC for every CH.
Row 10-11: CH1 and SC the whole row
Stuff your corn cob, making sure the bottom of the cob is jammed packed with stuffing.
BO and thread your yarn needle and weave through every ST. Pull your working yarn tight so that the end of your corn cob comes together like a drawstring
Making The Husks
Large Cob (AKA regulation corn cob size) Husk
Row 1: CH 1 and place a ESC into the 2nd CH from the hook. CH 1 and turn.
Row 2: 2 ESC in the CH, CH 1 and turn. (2)
Row 3: 2 ESC in both CHs. CH 1 and turn. (4)
Row 4: ESC in each CH. CH 1 and turn. (4)
Row 5: 2 ESC in the 1st CH. ESC in the next 2 CHS. 2 ESC in the last CH. CH 1 and turn. (6)
Row 6-15: ESC the row and CH 1 and turn (6)
Row 16: 2 ESC in the first CH, a ESC in the other CHS, and 2 ESC in the last CH. CH 1 and turn.(8)
Row 17-30: ESC the row and CH 1 and turn. (8)
Row 31: SLST into the last CH and leave a long tail for sewing.
Small Cob Husk
Row 1: CH 1 and place a ESC into the 2nd CH from the hook. CH 1 and turn.
Row 2: 2 ESC in the CH, CH 1 and turn. (2)
Row 3: 2 ESC in both CHs. CH 1 and turn. (4)
Row 4: ESC in each CH. CH 1 and turn. (4)
Row 5: 2 ESC in the 1st CH. ESC in the next 2 CHS. 2 ESC in the last CH. CH 1 and turn. (6)
Row 6-19: ESC the row and CH 1 and turn (6)
Row 20: SLST into the last CH and leave a long tail for sewing.
Mini Cob Husk
Row 1: CH 1 and place a ESC into the 2nd CH from the hook. CH 1 and turn.
Row 2: 2 ESC in the CH, CH 1 and turn. (2)
Row 3: 2 ESC in both CHs. CH 1 and turn. (4)
Row 4-11: ESC the row and CH 1 and turn (6)
Row 12: SLST into the last CH and leave a long tail for sewing.
Sew Your Husks On
Using the tails of your yarn, feed the tail through the yarn needle. Sew the bottom of your husks to the bottom of your cob. Only sew the bottom, you want the husks to be movable!


Kate has been on the Darn Good Yarn team since 2018.
They have their degree in Creative Art Therapy & Psychology - and like crafting and animals a little too much.