Rewards
Written by Kate Curry
Materials
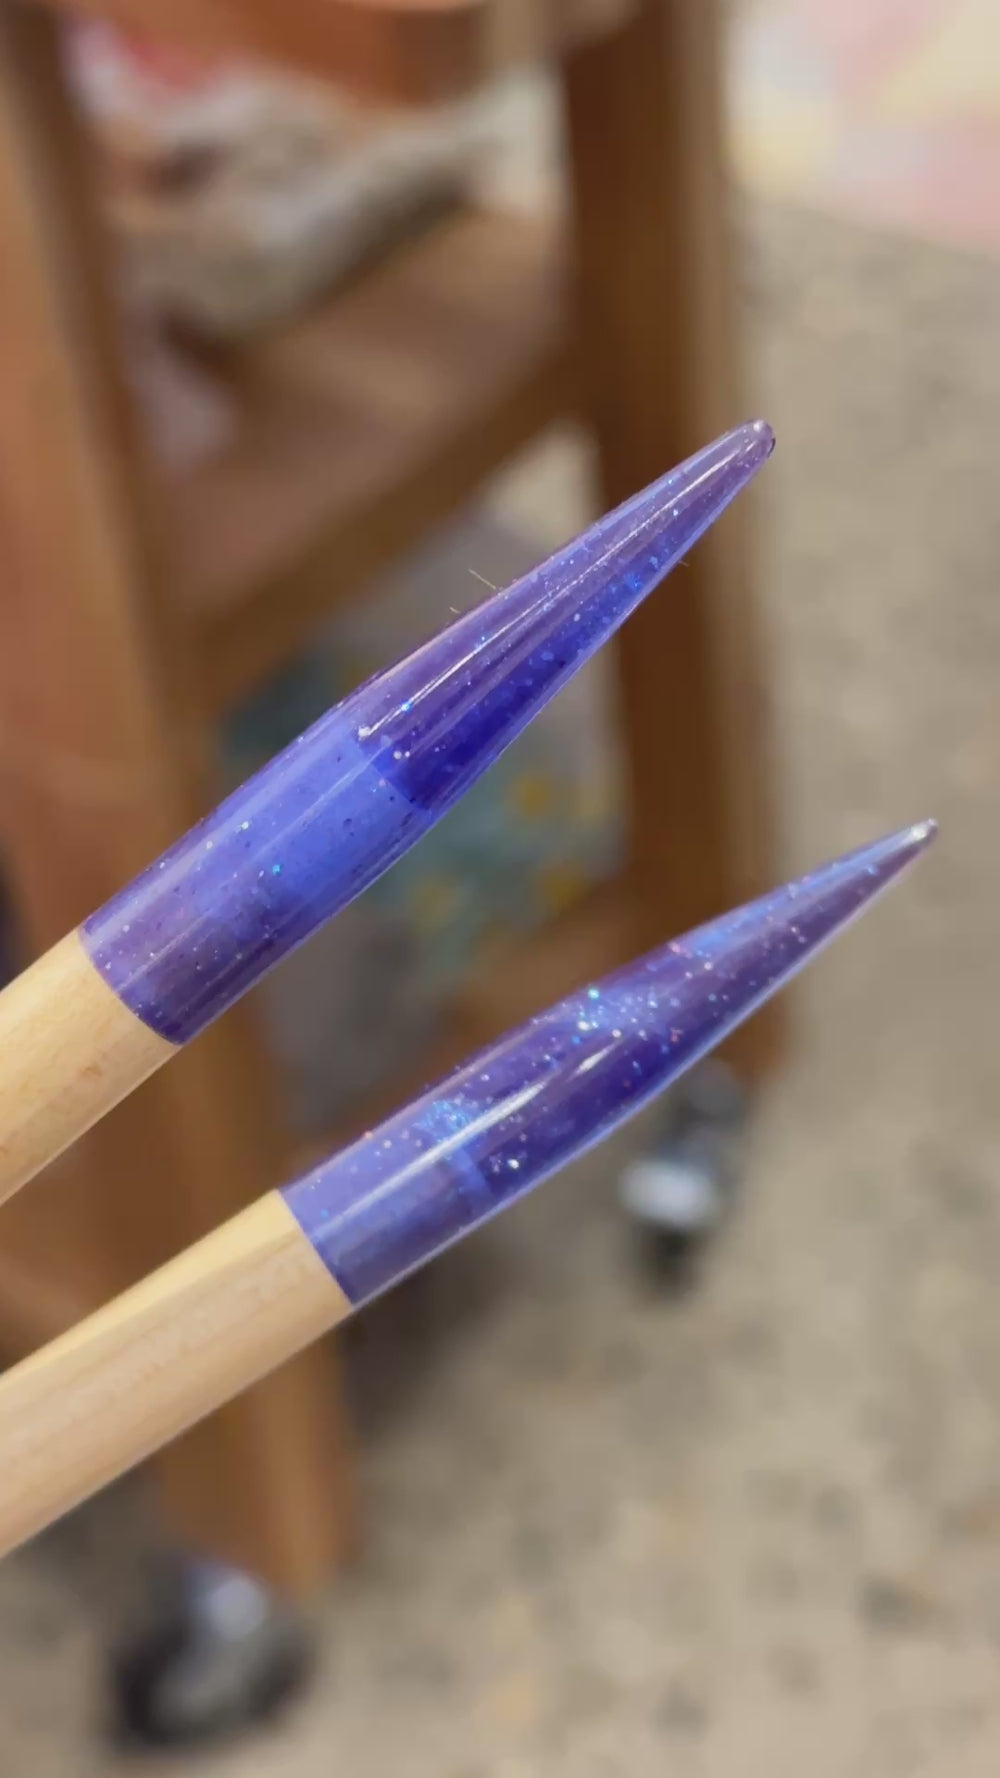
5.00mm crochet hook
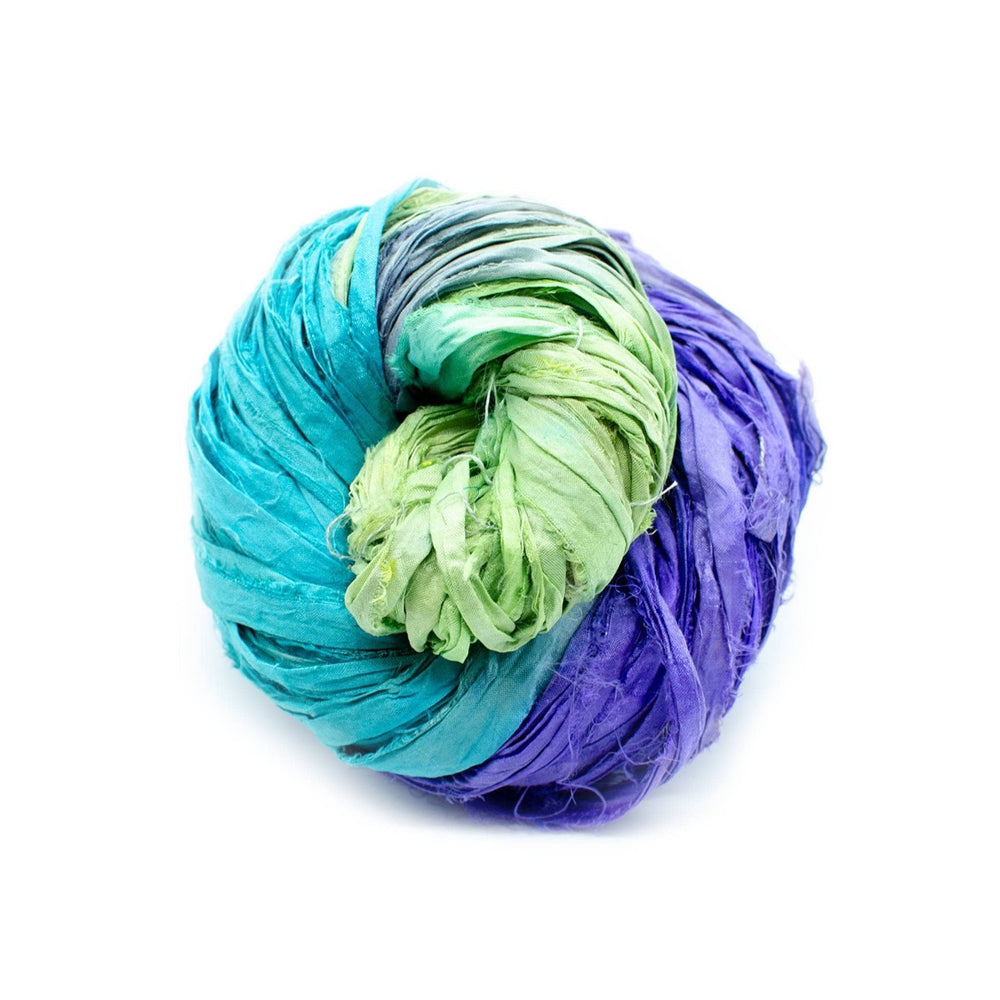
55 grams // 80 yards // 2 cakes of Silk Roving Worsted Weight Yarn or Sparkle Worsted Weight Silk Yarn
Scissors
Yarn Needle
Notes
I am only using two colors for these gloves that I got in my Granny Square Crochet Kit, but feel free to use as many different colors that you’d like! Just make sure that you have the total amount of yarn needed to create the gloves.
We have some tutorials to help you along!
Let's Get Started!
Create 4 Granny Squares
Color A
Round 1: Create a MC
Round 2: Ch 3 & 2 dc into the hole
Round 3: Ch 2 & 3 dc
Round 4: Ch 2 & 3 dc
Round 5: Ch 2 & 3 dc & slst into the 3rd ch of that original ch 3
BO
Color B
Round 6: Slip knot & join in the corner.
Round 7: Ch 3 & 2 dc into the hole. Ch 2
Round 8: 3 dc into same hole & ch 1
Round 9: 3 dc into the next corner hole. 2 ch, 3 dc, & ch 1.
Round 10: 3 dc into the next corner , ch 2, 3 dc, & ch 1.
Round 11: 3 dc into the next corner, ch 2, 3 dc, ch 1, & slst into the 3rd ch of the original 3 ch
BO
Color A
Round 12: Slip knot & join in the corner.
Round 13: Ch 3 & 2 dc, & ch 2. 3 dc into same hole & ch 1
Round 14: 3 dc into new side hole & ch 1
Round 15: Ch 3 & 2 dc, & ch 2. 3 dc into same hole & ch 1
Round 16: 3 dc into new side hole & ch 1
Round 17: Ch 3 & 2 dc, & ch 2. 3 dc into same hole & ch 1
Round 18: 3 dc into new side hole & ch 1
Round 19: Ch 3 & 2 dc, & ch 2. 3 dc into same hole & ch 1
Round 20: 3 dc into new side hole & ch 1
BO
Color B:
Round 21: Slip knot & join in the corner.
Round 22 Ch 3 & 2 dc, & ch 2. 3 dc into same hole & ch 1
Round 23-24: 3 dc into new side hole & ch 1
Round 25: Ch 3 & 2 dc, & ch 2. 3 dc into same hole & ch 1
Round 26-27: 3 dc into new side hole & ch 1
Round 28: Ch 3 & 2 dc, & ch 2. 3 dc into same hole & ch 1
Round 29-30: 3 dc into new side hole & ch 1
Round 31: Ch 3 & 2 dc, & ch 2. 3 dc into same hole & ch 1
Round 32-33: 3 dc into new side hole & ch 1
BO

Assembly
Take 2 of your squares and join them together along one side only.

Sandwich the squares together and join for 6 sts on the top and 4 sts bottom of the side, leaving a gap in the center for your thumb.

When you create the other mitten, make sure you join the opposite side together so your gloves won’t be the exact same! Gloves are sisters, not twins!
Ribbing
*See tutorial video in the notes above to get an idea of how this type of ribbing is created!
Round 34: Slst at the seam of the glove and ch 7.
Round 35: SK the 1st ch and blosc into each ch down the line. At the end of the row, anchor your row by slst into the 3 SC of the main body of the glove.
Round 36: Turn your piece so that you will be working up. Sk the 3 slst you made and blosc up the row. At the end of the ch. Ch 1 and turn. Before you start to blosc down the row, skip the first ch.
Repeat rows 35 and 36 around the whole body of the glove rim.
Turn the glove inside out and slst using the blo. BO.


Kate has been on the Darn Good Yarn team since 2018.
They have their degree in Creative Art Therapy & Psychology - and like crafting and animals a little too much.