Rewards
Have you looked around for Christmas Stockings but haven't found just the ones you LOVE? We've been there, and would also agree that handmade holiday decor is always more fun and unique. We've partnered up with fiber artist, Jenn Cadorette (@redsoxkitten on Instagram) to bring you a beautiful pattern for DIY Knit & Crochet Christmas Stockings! Whether you're a beginner or more advanced knitter or crocheter, this easy pattern will be a fun project that will serve you for years to come. We've also included a link to the full kit, including all of the yarn you'll need to make your stockings! Let's get started.
Materials
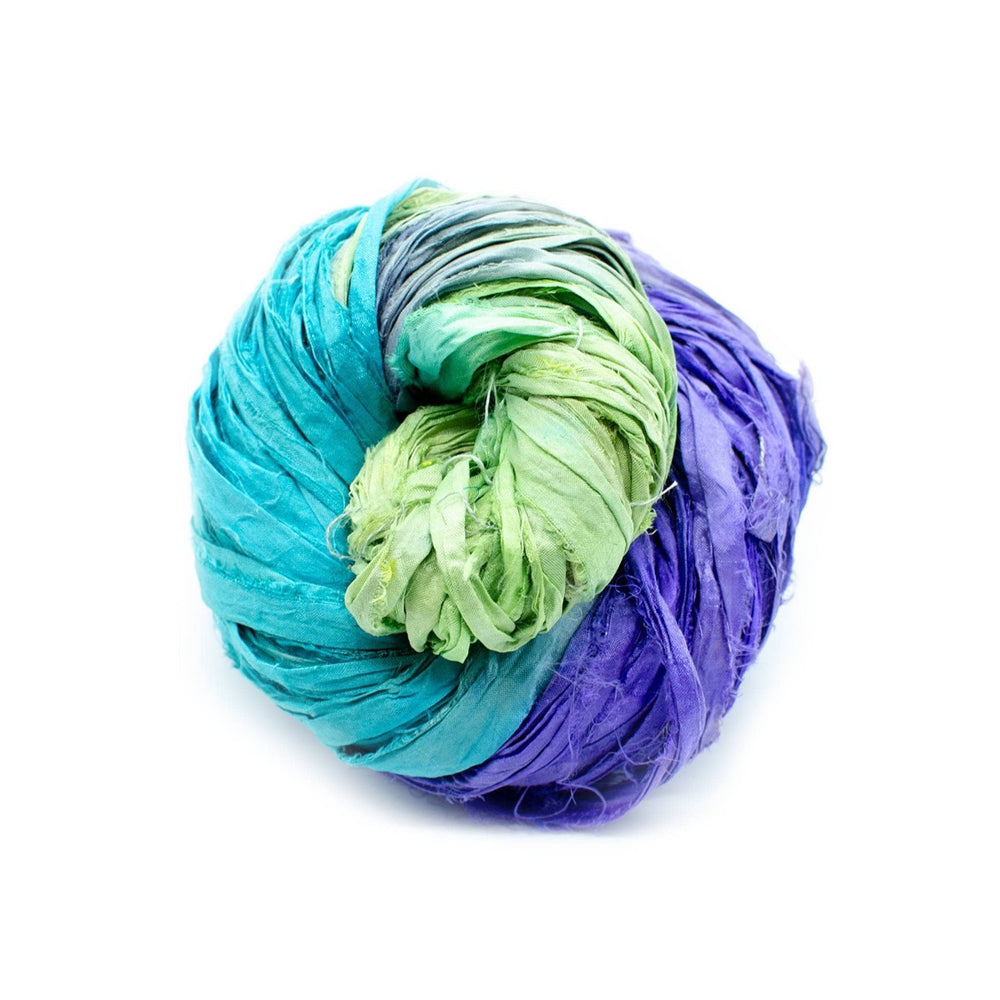
- Darn Good Yarn Chiffon Ribbon Ombre Pack in Lava
- (Crochet Only) Size US N Crochet Hook (not included)
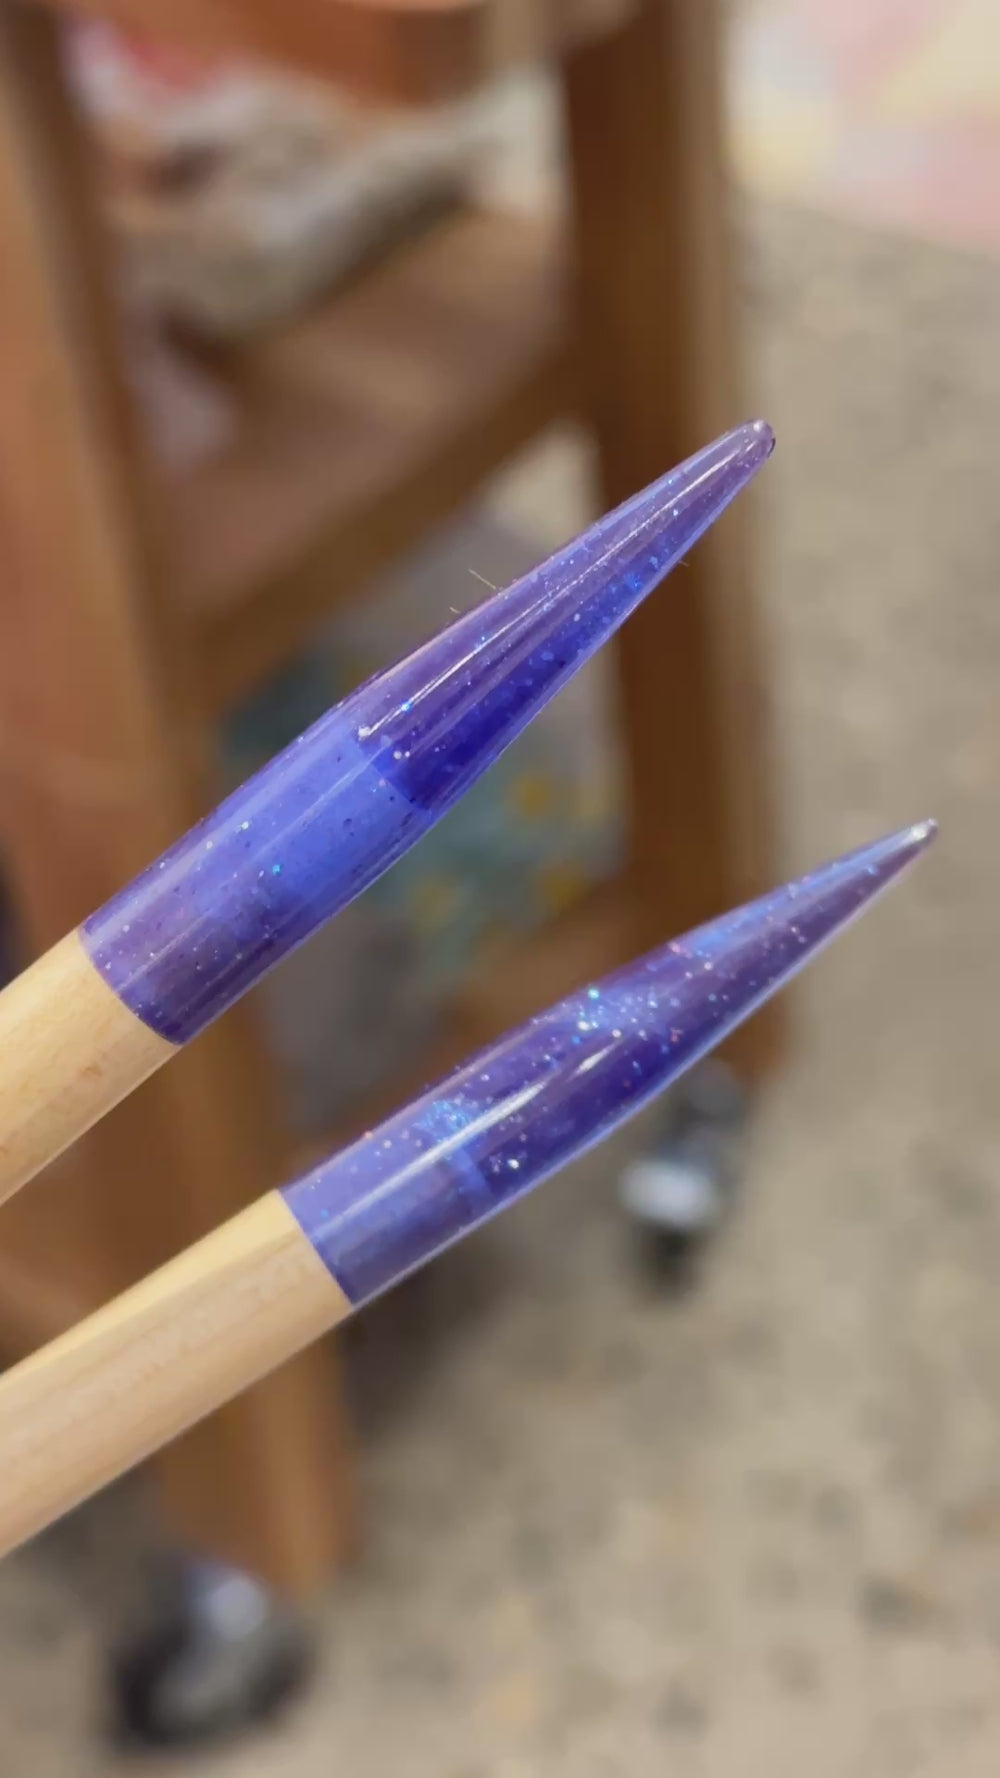
- (Knit Only) Double Pointed Needles US Size 11, 8 Inch Length (not included)
- Stitch Marker (not included)
- Darning Needle To Weave In Ends (not included)
- (Knit Only) Row counter (not included)
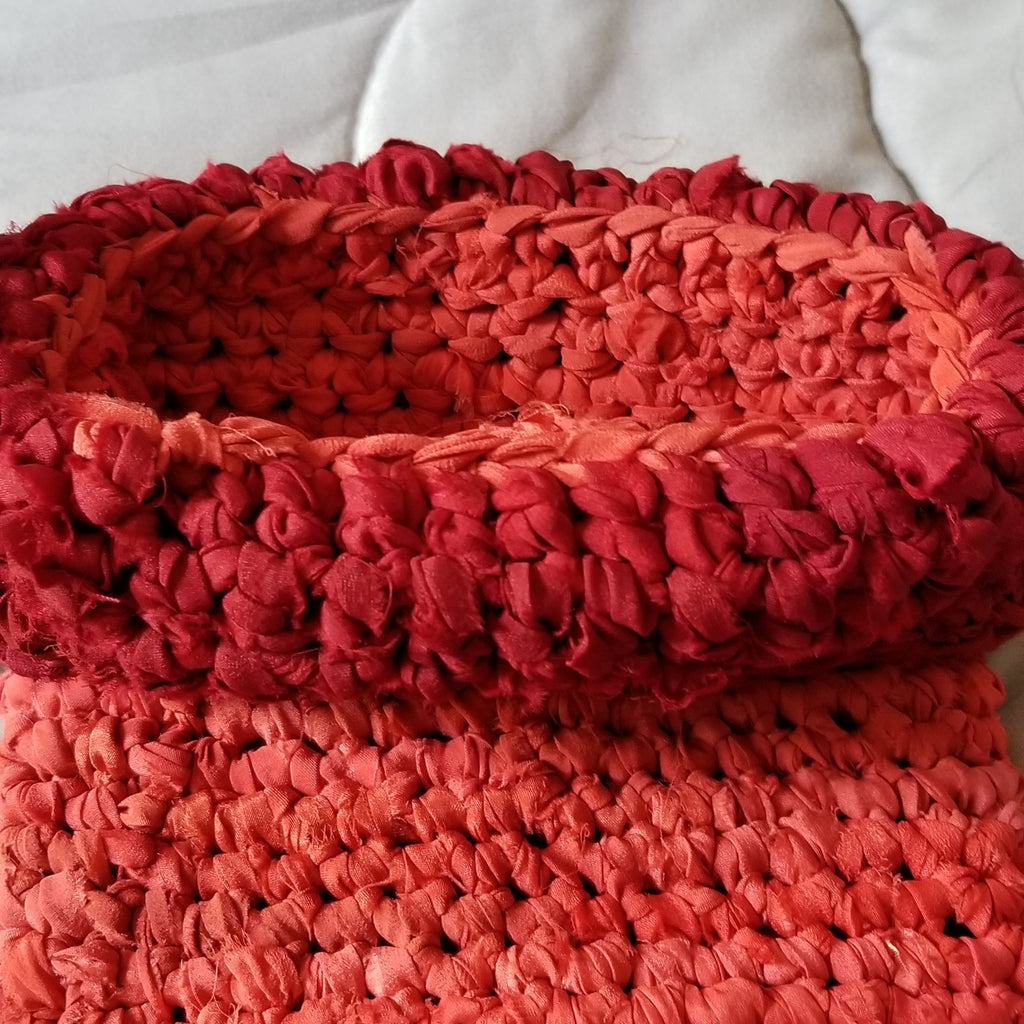
Crochet Instructions
Notes
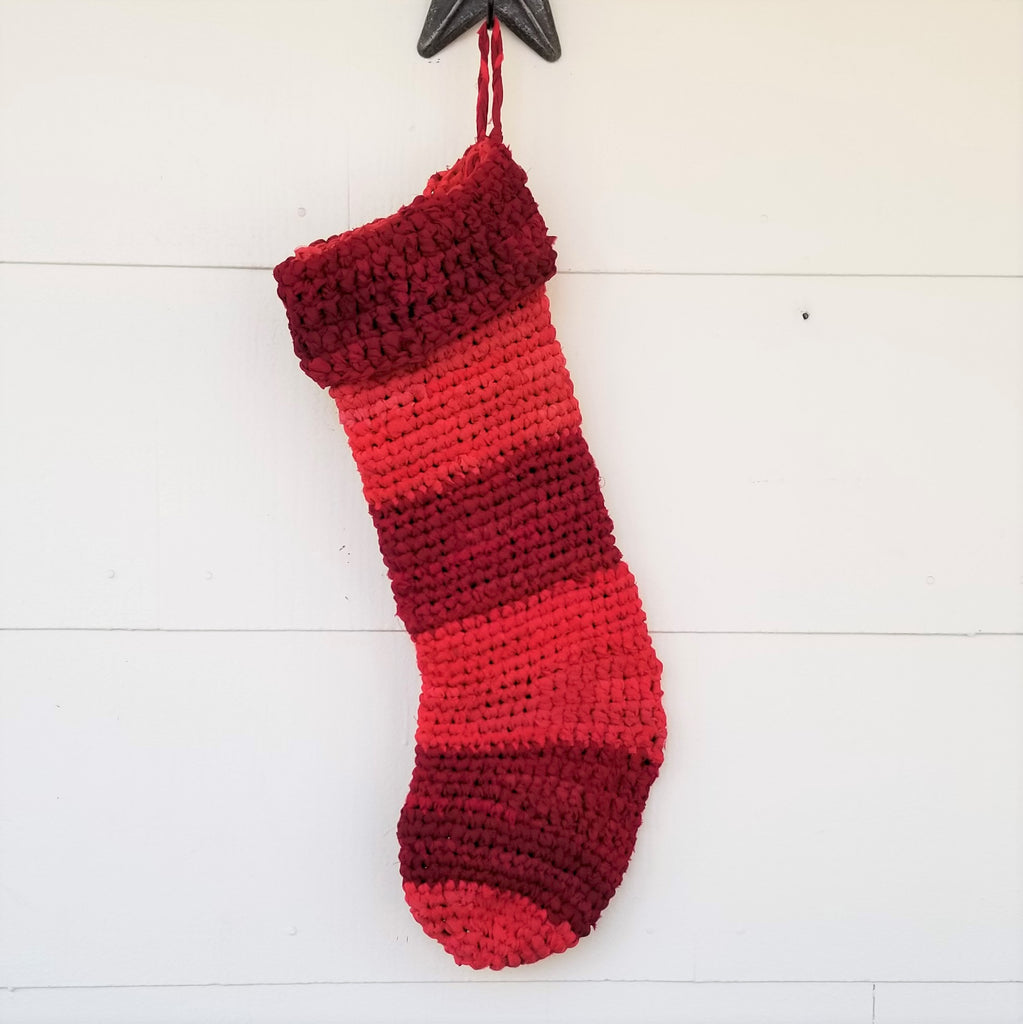
- Finished Project Dimensions: Approximately 21 inches long and 10 inches at widest point from heel to toe
- Project is worked in the round, with a slip stitch to the top of the first stitch to close the round. I found the colors of this ombre pack to be too harsh to work as a true gradient so I opted to separate them into light and dark colors.Where the pattern calls for Color A, the lighter colors were used. Where the pattern calls for Color B, the darker colors were used.
Crochet Abbreviations
SC: Single Crochet
DC: Double Crochet
HDC: Half Double Crochet
Dec- Decrease : worked over next 2 sc Insert hook into next stitch and pull up a loop. Insert hook into second stitch and pull up a loop. Yarn over and pull through all 3 loops on hook
Crochet Pattern
Using Color A and a size N crochet hook, chain 34 loosely. Being careful not to twist the chain, join with in the round with a slip stitch.
Round 1: Chain 3 (counts as the first dc in a round, now and throughout.) dc in each chain around. Join with Slip stitch to the top of the first ch 3.
Round 2: Sc in each stitch around, slip stitch into the top of the first stitch to join.
Rounds 3-17: Repeat round 2Rounds 18- 27: With Color B, dc in each stitch around, slip stitch into the top of the first stitch to join.
Rounds 28-32: With Color A, sc in each stitch around, slip stitch into the top of the first stitch to join.
Round 33: Keeping with Color A : Ch 3, dc in next 5 stitches, hdc in next 2 stitches, sc in next 18 stitches, hdc in next 2 stitches, dcin last 6 stitches, slip stitch into top of beginning ch3 to join.
Rounds 34-37: Repeat round 33.
Round 38-41: With Color B: Repeat round 33.
Rounds 42-47: repeat round 2
Round 48: With Color A Repeat round 2 Continue with Color A until the end of the toe.
Round 49: * work dec over next 2 stitches, sc in next stitch. Repeat from * around, sc in last stitch.
Round 50: Sc in each stitch around, slip stitch into the top of the first stitch to join.
Round 51: Work dec over next 2 stitches and continue to decrease around. Sc in last stitch. Slip stitch into the top of the first stitch to join.
Round 52: Repeat round 50Round 53: Dec over next 2 stitches and continue to decrease around. Finish off leaving a long tail. Using a darning needle, weave the tail through the stitches of the anal round, gather them closed. Pull the tail into the inside of the stocking and weave in ends.
Cuff:
With the Right side facing you, you will be working into the stitches at the BACK of the top of the stocking.Round 1: With Color B, working into the BACK loops only, join yarn with slip stitch to any dc. Dc in each stitch around, join with a slip stitch into the top of the first chain 3.
Rounds 2-7: Ch 3, dc in each stitch around, join with slip stitch into the top of the first chain 3.
Finish off and weave in ends.
Fold cuff down over the top of the stocking.
To make a hanging loop:
Holding 2 strands together, join yarn with Slip stitch the top of the stocking and chain 8. Slip stitch into the same stitch as you started. Finish off and weave in ends.
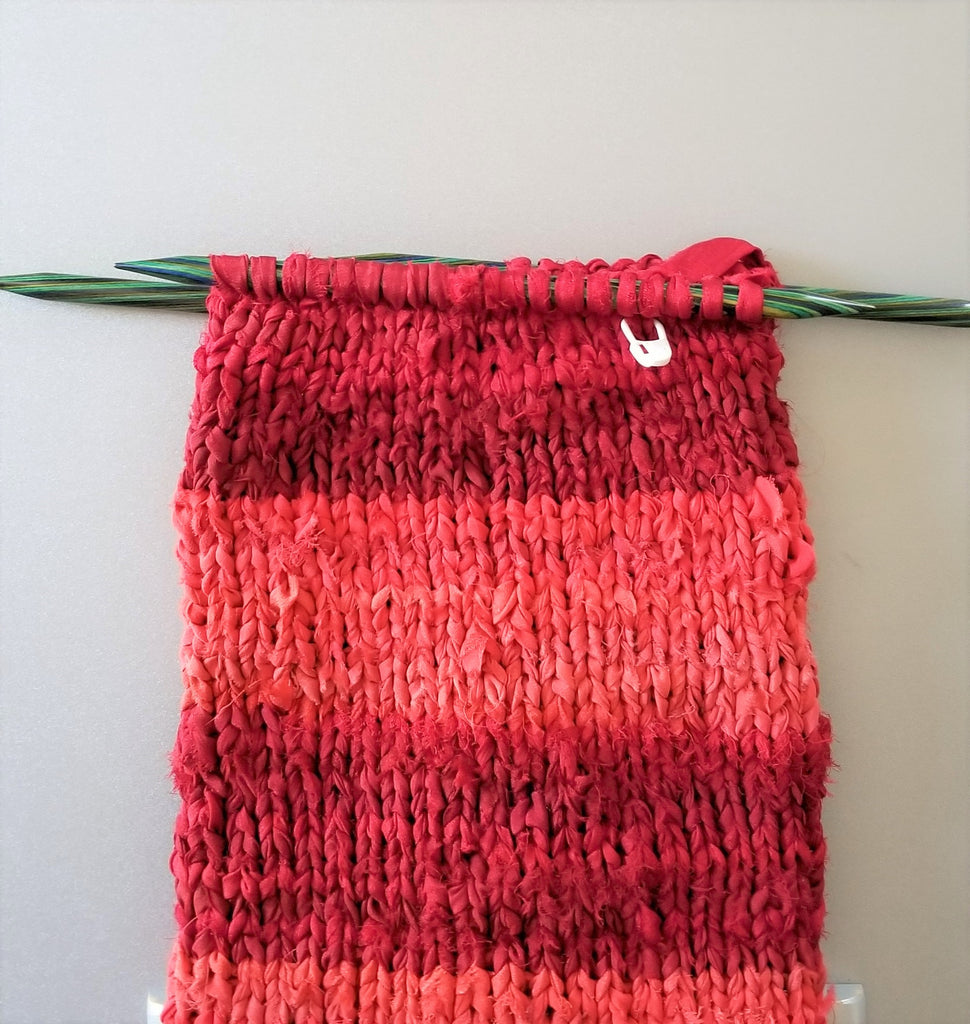
Knit Instructions
Notes
- Finished Project Dimensions: Approximately 21 inches long and 10 inches (at widest point from back of heel to tip of toe)
- When pattern states to slip a stitch, it is slipped PURLwise from left to right needle. Exception is SSK, where the stitches are slipped from the left needle to the right needle Knitwise.
- I found the colors in this to be a bit harsh to use as a true gradient. Instead, I separated them into Light and Dark, and had fun mixing them up in the stripes as I worked. Where the pattern calls for Color A, I used the Darker shades. Where the pattern calls for Color B, I used the Lighter shades.
Knit Abbreviations
K: Knit
P: Purl
SSK: Slip Next 2 stitches knitwise, insert left needle into theFront of these 2 stitches, knit both stitches together
K2tog: Knit next 2 stitches together
P2tog: Purl next 2 stitches together
Sl: Slip Stitch
Knit Pattern
With US size 11 double pointed needles, cast on 40 stitches and arrange them on four needles with 10 stitches per needle. Working in the round, place a marker on the first needle to help keep track of when your next round begins. As you moveforward, move your stitch marker up every few rounds in order to keep track of needle one.
Rounds 1-12: Ribbed Cuff - Using Color A (Darker Shades) K1, P1 around
Rounds 13-24: Using Color B (Lighter Shades) Knit all stitches
Rounds 25-36: Using Color A: Knit all stitches
Rounds 37-48: Using Color B: Knit all stitches
Rounds 49-60: Using Color A: Knit all stitches
Heel Flap:
Using Color B, working back and forth in rows across the next 20 stitches only:
Row 1: Slip first stitch, K1, Sl 1 across turn work
Row 2: Slip first stitch, P across
Row 3: Repeat row 1
Row 4: Repeat row 2
Row 5: Repeat row 1
Row 6: Repeat row 2
Row 7: Repeat row 1
Row 8: Repeat row 2
Row 9: Repeat row 1
Row 10: Repeat row 2
Row 11: Repeat row 1
Row 12: Repeat row 2
Row 13: Repeat row 1
Row 14: Repeat row 2
Row 15: Repeat row 1
Row 16: Repeat row 2
Row 17: Repeat row 1
Row 18: Repeat row 2
Row 19: Repeat row 1
Row 20: Repeat row 2
Turn the Heel:
Row 1: Slip first stitch as if to purl, knit next 11 stitches, SSK, K1. Leave the remaining 5 stitches on left needle unworked and on left needle. Turn work.
Row 2: Slip first stitch as if to purl, purl P5, P2tog, P1. Leave last 5 stitches unworked and on left needle. Turn work.
Row 3: Slip first stitch as if to purl, knit next 6 stitches, SSK, K 1. Leave last 3 stitches on left needle unworked. Turn work.
Row 4: Slip first stitch as if to purl, P 7, P2tog, P1. Leave last 3 stitches on left needle unworked. Turn work.
Row 5: Slip first stitch as if to purl, K 7, SSK, K1. Leave last stitch on left needle unworked. Turn work.
Row 6: Slip first stitch as if to purl, P 9, P2tog, P1. Leave last stitch on left needle unworked. Turn work.
Row 7: Slip first stitch as if to purl, K 10 SSK. There will be NO stitches remaining on the left needle for this row. Turn work.
Row 8: Slip first stitch as if to purl, P 10, P2tog. All stitches should be worked. Turn Work.
Row 9: Slip first stitch as if to purl. Knit 5.You are now at the center of your heel.
All remaining rounds will begin with the stitches on the needle to your left. There shouldbe 6 stitches before the side of the heel flap. Move your stitch marker to the first needle to mark it as NEEDLE ONE.
Gusset:
Round 1: (Set up Round)
NEEDLE ONE: Knit 6 stitches from the left side of the heel, then pick up and knit 10 stitches from the side of the heel flap.
Next, knit across the 20 instep stitches on Needles 2 and 3.
NEEDLE 4: Pick up and knit 10 stitches along the remaining side of the heel flap, (the same way you did for needle one) and thenknit the last 6 stitches from the right side of the heel.
You should now be in the center of the heel again with Needle one to your left. Needle 1 should have a total of 16 stitches.
Needles 2 and 3 should have 10 stitches each for a total of 20 instep stitches. Needle 4 should have 16 stitches.
Continue working in the round
Round 2:
Needle 1: K 13, K2tog, K1.
Needles 2 & 3: Knit all Stitches
Needle 4: K1, SSK, K across remaining 13 stitches
Round 3: Knit all stitches across all 4 needles
Round 4:
Needle 1: K12, K2tog, K1
Needles 2 & 3: Knit all stitches
Needle 4: K1, SSK, K12
Round 5: Repeat row 3
Round 6:
Needle 1: K 11, K2tog, K1Needles 2 & 3: Knit all stitches
Needle 4: K 1, SSK, K 11
Round 7: Knit all stitches
Round 8:
Needle 1: K 10, K2tog, K1
Needles 2 & 3: Knit all stitches
Needle 4: K1, SSK, K10
Round 9: Knit all stitches
Round 10:
Needle 1: K 9, K2tog, K 1
Needles 2 & 3: Knit all stitches
Needle 4: K 1, SSK, K 9
Round 11: Knit all stitches
Round 12:
Needle 1: K 8, K2tog, K1
Needles 2 & 3: Knit all stitches
Needle 4: K 1, SSK, K 8
You are now finished with the gusset. You should be back to the center of the heel, and have 10 stitches on each of the four needles for a total of 40 stitches.
Continue working in the round knitting all stitches for the rest of the foot.
Rounds 1-12: Using color A, Knit all stitches
Toe:
Using Color B:
Rounds 1- 3: Knit all stitches
Round 4:
Needles 1 & 3: K 7, K2tog, K1
Needles 2 & 4: K1, SSK, K 7
Round 5: Knit all stitches
Round 6:
Needles 1 & 3: K 6, K2tog, K1
Needles 2 & 4: K 1, SSK, K 6
Round 7: Knit all stitches
Round 8:
Needles 1 & 3: K 5, K2tog, K1
Needles 2 & 4: K 1, SSK, K 5
Round 9: Knit all stitchesRound 10:
Needles 1 & 3: K 4, K2tog, K1
Needles 2 & 4: K1, SSK, K4
Round 11: Knit all stitches
Finishing:
If you plan to close the toe with kitchener stitch, knit to the end of needle one and leave a long tail for the grafting. If kitchener stitch is something you'd rather not attempt, knit to the end of needle one, bind off all the remaining stitches, and leave a long tail. Turn the stocking inside out and sew shut with a seam. Alternatively, you can knit to the end of needle one, leave a long tail, and gather the remaining stitches onto the tail. Pull the toe closed and weave all of the ends into the INSIDE of the stocking.
Congratulations!
You've made your very own Christmas Stockings! Now it's time to get them hung by your tree and patiently wait for Santa to visit. All of us here at Darn Good Yarn wish you the very Happiest Holidays with your loved ones.
Stay in touch!
To stay up to date on the best deals, giveaways, and new products, sign up for our FREE newsletter by clicking the button below!