Rewards
Before You Begin
Are you ready for fall? Decorate your home with a Darn Good Pumpkin Stack made from our Sari Silk Ribbon and Banana Fiber. Designed by Hillary Thompson (Check out her IG: @hillarys_hook), this pattern is the definition of handmade fall decor.
Get the Complete Kit HERE.
Craft: Crochet
Skill Level: Easy
Materials:
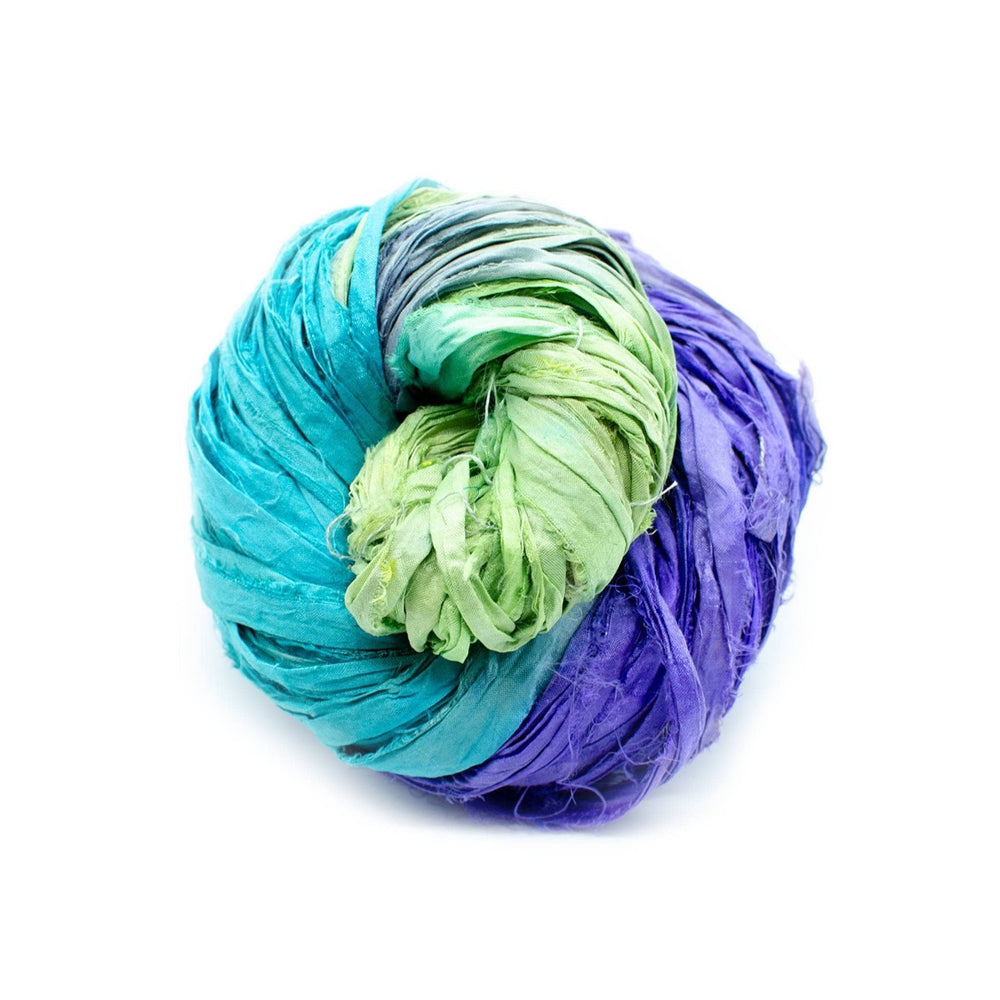
1 skein of Neon Sari Silk Ribbon (Large Pumpkin)
1 skein of Block Printed Sari Silk Ribbon (Medium Pumpkin)
1 skein of Banana Fiber (Small Pumpkin)
Hook L/11 8.00mm
Hook K/10.5 6.50mm
Hook J/10 6.00mm
Stuffing
Scissors
Yarn Needle
Abbreviations:
rnd- round
sc- single crochet
ea- each
rep- repeat
st(s)- stitch(es)
dec- decrease
Pattern Notes:
This pattern is worked in a spiral. Do not join unless instructed to. Each pumpkin is worked separately and then attached together in a stack.
Instructions:
Large Pumpkin
Rnd 1: Make a magic ring, sc 6 in magic ring
Rnd 2: sc 2 in ea st (12)
Rnd 3: sc in next st, sc 2 in next st, rep (18)
Rnd 4: sc in next 2 sts, sc 2 in next st, rep (24)
Rnd 5: sc in next 3 sts, sc 2 in next st, rep (30)
Rnd 6: sc in next 4 sts, sc 2 in next st, rep (36)
Rnd 7-9: sc in ea st (36)
Rnd 10: sc in next 4 sts, dec, rep (30)
Rnd 11: sc in next 3 sts, dec, rep (24)
(begin to stuff the pumpkin)
Rnd 12: sc in next 2 sts, dec, rep (18)
Rnd 13: sc in next st, dec, rep (12)
Rnd 14: dec in ea st (6)
(finish stuffing the pumpkin)
Finishing Instructions:
Tie off leaving a long tail for sewing and shaping. Grab your needle and use the yarn tail to weave in and out of the last 6 sts and cinch shut.
To form the lines, take your needle (with your yarn tail) and feed it from the top through the center and out of the bottom of the pumpkin. Bring your needle back up to the top and feed it through again. Gently tug in the yarn to shape this section of the pumpkin. Repeat for each section. I normally do 8 but you can do more or less. After you have completed your last line, secure with a knot at the bottom. (I work mine as close to the center as possible.) Then just weave in your yarn tail.
Medium Pumpkin:
Rnd 1: Make a magic ring, sc 6 in magic ring
Rnd 2: sc 2 in ea st (12)
Rnd 3: sc in next st, sc 2 in next st, rep (18)
Rnd 4: sc in next 2 sts, sc 2 in next st, rep (24)
Rnd 5: sc in next 3 sts, sc 2 in next st, rep (30)
Rnd 6-8: sc in ea st (30)
Rnd 9: sc in next 3 sts, dec, rep (24)
(begin to stuff the pumpkin)
Rnd 10: sc in next 2 sts, dec, rep (18)
Rnd 11: sc in next st, dec, rep (12)
Rnd 12: dec in ea st (6)
(finish stuffing the pumpkin)
Follow the finishing instructions from the large pumpkin.
Small Pumpkin:
Rnd 1: Make a magic ring, sc 6 in magic ring
Rnd 2: sc 2 in ea st (12)
Rnd 3: sc in next st, sc 2 in next st, rep (18)
Rnd 4: sc in next 2 sts, sc 2 in next st, rep (24)
Rnd 5-7: sc in ea st (24)
Rnd 8: sc in next 2 sts, dec, rep (18)
(begin to stuff the pumpkin)
Rnd 9: sc in next st, dec, rep (12)
Rnd 10: dec in ea st (6)
(finish stuffing the pumpkin)
Follow the finishing instructions from the large pumpkin.
Joining the Pumpkins:
Cut a piece of yarn approx 24 in long. Starting with the large pumpkin, feed the yarn through the center from bottom to top. Do the same with the medium and small pumpkins. Go back through the top of the small pumpkin in a different area near the center. Feed the yarn through the medium and large pumpkins. Repeat these instructions once more. Secure at the bottom of the large pumpkin and weave your ends.
Add a craft stick or twig on top of the small pumpkin for a stem. Embellish as desired.