BEFORE YOU GET STARTED
This wall hanging is the source of a lotta love, made from DGY Handmade Sari Silk Ribbon Yarn and then crocheted with love by you! The designer, Hillary Thomspon aka @hillarys_hook, said she won't be taking it down after Valentine's day. "It's now part of my every day decor."
CRAFT: Crochet
SKILL LEVEL: Intermediate
MATERIALS:
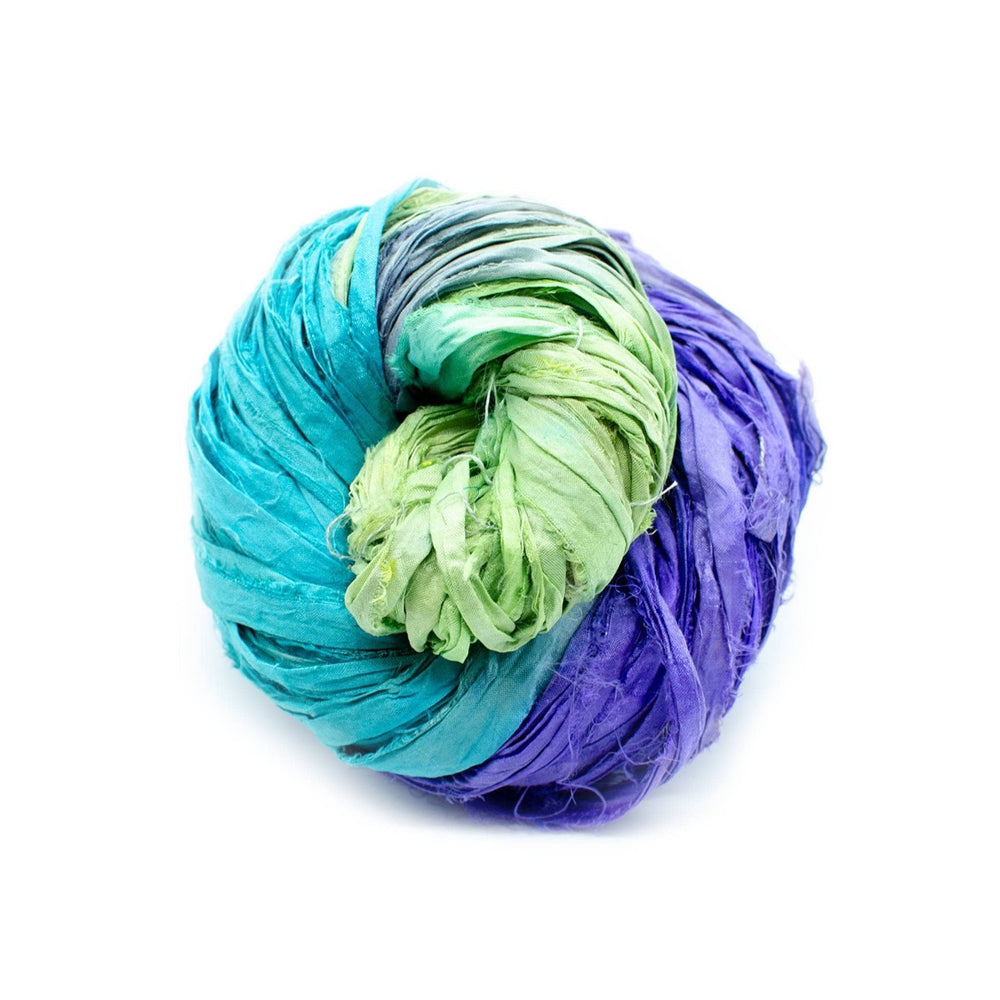
- 2 100g Skeins of DGY Neon Handmade Sari Silk Ribbon Yarn (Nitrogen Pink)
- 2 100g Skeins of DGY Sari Silk Ribbon Yarn (Vintage Ivory)
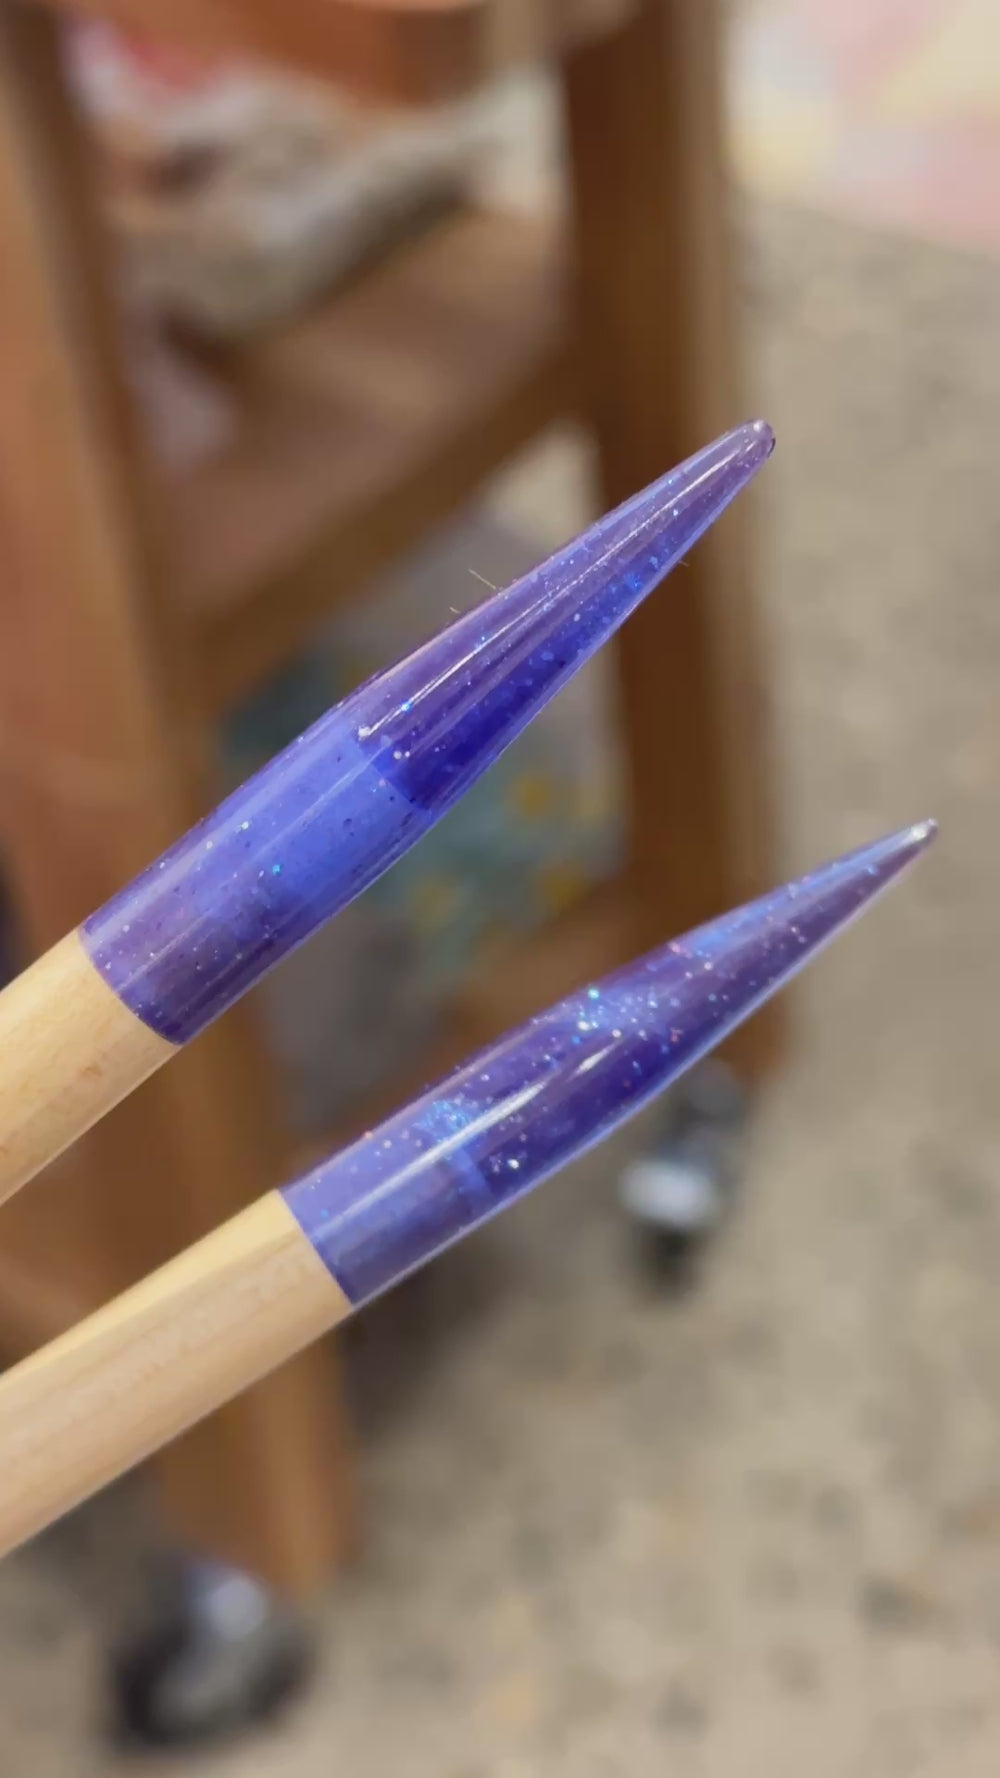
- US L/11 ( 8 mm) Crochet Hook (not included)
- Tapestry Needle and Scissors (not included)
- Dowel Rod at Least 20” Long (not included)

PATTERN NOTES:
- Approximate Finished Size: 13” x 20”
- Gauge: 10 sts x 8 rows= 4”x4”
- This pattern is done with tapestry crochet. You will use single crochet stitches and color changes to create a heart in the center of your wall hanging.
- DO NOT CARRY YOUR YARN. If you carry the yarn behind your work you will run out. Instead attach one ball of the ivory to either side of the heart and use each one on its designated side
- Stitch counts per row are shown in <brackets>.
ABBREVIATIONS:
ST(S): Stitch(es)
CH: Chain
SL ST: Slip Stitch
SC: Single Crochet
EA: Each
I: Ivory Ribbon Yarn
P: Pink Ribbon Yarn
PATTERN:
Row 1: Ch 40. Sc in 2nd ch from the hook and in ea ch across <39 sts>
Rows 2-3: Ch 1, turn, sc in ea st <39 sts>
This is where we start the heart: I- Ivory / P- Pink
Row 4: Ch 1, turn, I- sc in next 18 sts, P- sc in next 3 sts. I- sc in next 18 sts <39 sts>
Row 5: Ch 1, turn, I- sc in next 17 sts, P- sc in next 5 sts, I- sc in next 17 sts <39 sts>
Row 6: Ch 1, turn, I- sc in next 16 sts, P- sc in next 7 sts, I- sc in next 16 sts <39 sts>
Row 7: Ch 1, turn, I- sc in next 15 sts, P- sc in next 9 sts, I- sc in next 15 sts <39 sts>
Row 8: Ch 1, turn, I- sc in next 14 sts, P- sc in next 11 sts, I- sc in next 14 sts <39 sts>
Row 9: Ch 1, turn, I- sc in next 13 sts, P- sc in next 13 sts, I- sc in next 13 sts <39 sts>
Row 10: Ch 1, turn, I- sc in next 12 sts, P- sc in next 15 sts, I- sc in next 12 sts <39 sts>
Row 11: Ch 1, turn, I- sc in next 11 sts, P- sc in next 17 sts, I- sc in next 11 sts <39 sts>
Row 12: Ch 1, turn, I- sc in next 10 sts, P- sc in next 19 sts, I- sc in next 10 sts <39 sts>
Row 13: Ch 1, turn, I- sc in next 9 sts, P- sc in next 21 sts, I- sc in next 9 sts <39 sts>
Row 14: Ch 1, turn, I- sc in next 8 sts, P- sc in next 23 sts, I- sc in next 8 sts <39 sts>
Rows 15-21: Ch 1, turn, I- sc in next 7 sts, P- sc in next 25 sts, I- sc in next 7 sts <39 sts>
Row 22: Ch 1, turn, I- sc in next 8 sts, P- sc in next 11 sts, I- sc in next st, P- sc in next 11 sts, I- sc in next 8 sts <39 sts>
Row 23: Ch 1, turn, I- sc in next 9 sts, P- sc in next 9 sts, I- sc in next 3 sts, P- sc in next 9 sts, I- sc in next 9 sts <39 sts>
Row 24: Ch 1, turn, I- sc in next 10 sts, P- sc in next 7 sts, I- sc in next 5 sts, P- sc in next 7 sts, I- sc in next 10 sts <39 sts>
Row 25: Ch 1, turn, I- sc in next 11 sts, P- sc in next 5 sts, I- sc in next 7 sts, P- sc in next 5 sts, I- sc in next 11 sts. This row finishes the heart. Cut pink yarn and tie off. <39 sts>
Rows 26-28: Ch 1, turn, using only Ivory, sc in ea st. Do not tie off ivory yarn <39 sts>
Border:
Round 1: Ch 1, working down the left side of the wall hanging, sc in ea row end <28 sts>. Ch 1, sc in ea st across the bottom <39 sts>. Ch 1, sc in ea row end of the right side <28 sts>. Ch 3, sk 2 sts, sc in next 5 sts, ch 3, sk 3, sc in next 5 sts, ch 3, sk 3, sc in next 3 sts, ch 3, sk 3, sc in next 5 sts, ch 3, sk 3, sc in next 5 sts, ch 3, sk 2 sts, sl st join to jrst st in round. Tie off ivory yarn.
Round 2: Join pink yarn to one of the corners, sl st in ea sc and ch around, finish off and weave ends.

Finishing: Weave the dowel rod in and out of the spaces in the top of the wall hanging. Cut a piece of yarn long enough to reach from one end of the dowel rod to the other, maybe a bit longer depending on how much slack you want at the top of the hanger. Tie the yarn to each end of the dowel rod, close to the wall hanging. Trim ends or leave them for a little extra flair. Finished! NOTE: To help keep the dowel from sliding, put a dab of hot glue under each knot to hold in place
 Rewards


