Rewards
God’s Eye Wall Art (Ojo de Dios): A Beautiful Craft + Its Meaningful Roots

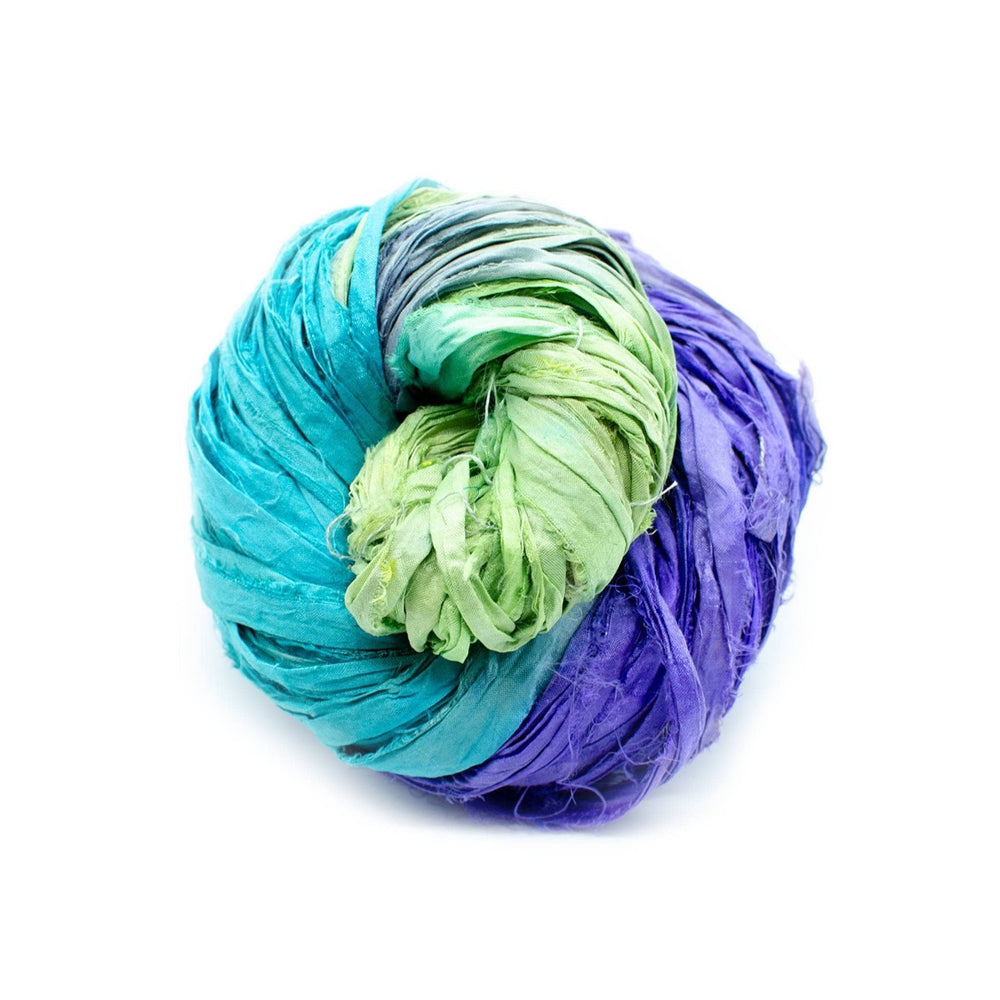
I made the colorful “God’s Eye” wall art below using two sticks and a mix of chiffon ribbon + sari ribbon. It’s simple enough to do in an afternoon, and each piece turns out completely unique.
The history of the “God’s Eye” (Ojo de Dios)
The “God’s Eye” (or Ojo de Dios) has a very long and special history that started far away in the mountains of Mexico.
The craft comes from an Indigenous group of people called the Wixárika (pronounced wee-shar-ee-ka), also known as the Huichol. They live in the Sierra Madre mountains. To them, these weren’t just decorations—they were sacred objects used for prayer and protection.
In their language, the craft is called a Tsikuri, which means “the power to see and understand things we cannot see.”
One of the coolest parts of its history is how children used to receive them:
- When a baby was born: The father would weave the very center (the “pupil”) to ask the gods to watch over the new baby.
- Every birthday: Each year, the father would add a new circle of color.
- The Big Five: This continued until the child turned 5 years old—five layers of color.
- The Completion: Once the child was five, they were considered “grown up” enough to make their own prayers, so the family would leave the finished God’s Eye as a thank-you gift to the gods (sometimes by throwing it into the ocean).
- The Four Points: Earth, Air, Fire, and Water — also North, South, East, and West.
- The Center: The “eye” through which a god can look down and protect the person who made it.
- The Colors: Often represent nature (blue for ocean, yellow for sun, green for plants, etc.).
Why is it called a “God’s Eye”?
In the 1500s, Spanish explorers arrived in Mexico. When they saw these being made, they noticed the diamond shape in the middle looked like an eye. They started calling them Ojo de Dios, which is Spanish for “Eye of God.”
How to make a God’s Eye (step-by-step)
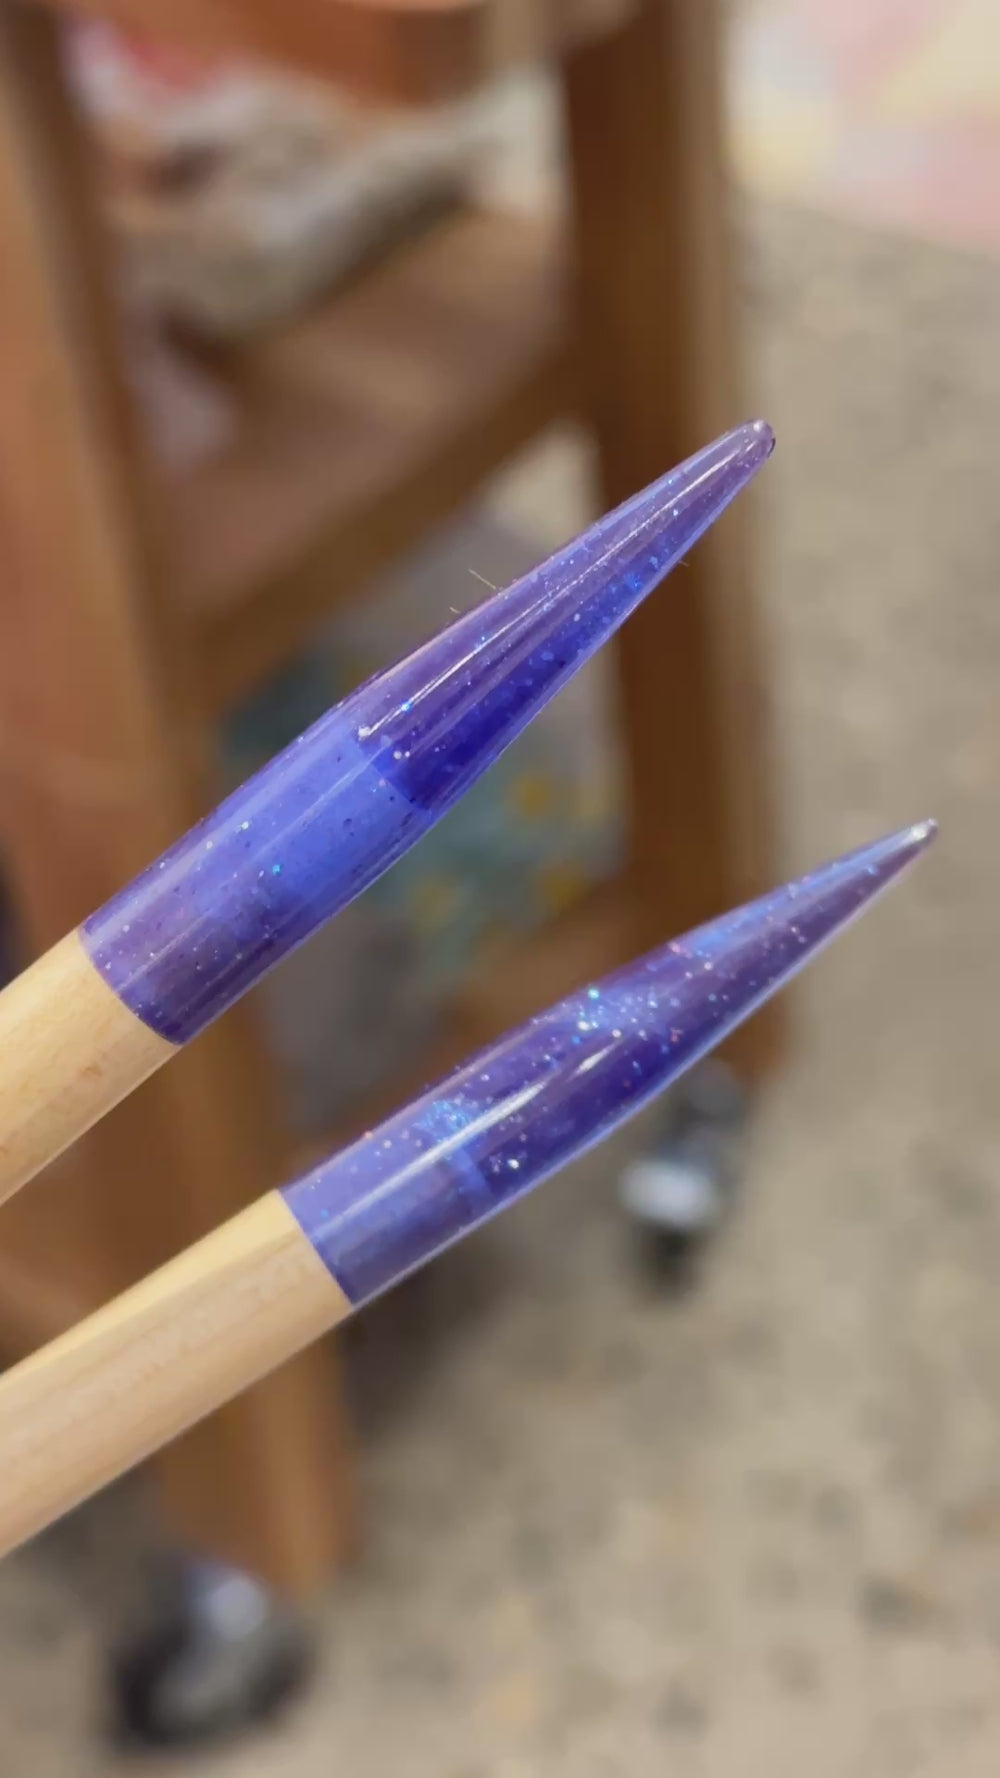
- 2 sticks (or dowels/chopsticks!)
- Scissors
- Ribbon/yarn: chiffon ribbon + sari ribbon (or any combo you love)
First, we need to turn your two sticks into a cross shape.
- Hold your sticks together like a plus sign (+) or cross.
- Tie the end of your ribbon/yarn around the center with a double knot.
- Wrap diagonally across the center (like an “X”) 5–6 times one way, then 5–6 times the other way.
- Goal: The sticks should feel sturdy and stay in place without you holding them.
This is the main move you’ll use for the whole project. Think of it as a loop:
- Pick one stick to start. Lay the ribbon/yarn over the top of that stick.
- Wrap it all the way around that stick once.
- Move the ribbon/yarn to the next stick to the right.
- Lay it over, wrap all the way around, move to the next—repeat.
- Keep going—you’ll see a diamond shape grow from the center.
- Always go to the next stick in the same direction (clockwise).
- Make sure each new row sits right next to the last one, moving outward.
- Cut the ribbon/yarn you’re using, leaving a 3-inch tail.
- Tie the end of your new color to that tail with a tight knot.
- Keep wrapping—tuck knot tails behind the sticks so they don’t show.
- When you’re close to the ends of the sticks (leave about ½ inch of wood showing), it’s time to stop.
- Cut the ribbon/yarn, leaving a 5–6 inch tail.
- Tie a double knot around the last stick you wrapped.
- To hang it up, tie the two ends of the tail together to make a loop.
Pick your ribbon vibe (shop links)
Want a wild surprise mix? A clean ombre color story? Or something in-between? Pick your vibe below.
Show us what you make 💛
If you make a God’s Eye, we’d love to see it—share your color story and tag us so we can celebrate your creativity.