Rewards



Working in the opposite side of the chain means crocheting back along the bottom of your foundation chain after you've worked the first row into its top. The chain ends up with stitches on both sides, and the piece grows in two directions from one starting line.
Patterns use it for ovals (bag bottoms, slipper soles, amigurumi bodies), for a seamless first round on things like pencil cases, and for leaves and hearts worked around a center chain. It's beginner-level, and the one thing that makes it work is knowing which loop of the chain to go into.
Watch: Working in the Opposite Side of the Chain Video Tutorial
Watch the moment the work is rotated at the end of the first row: the chain's unused loops are now on top, and the hook goes into those.
What You Need
A smooth, light-colored worsted or DK weight yarn shows the chain's loops best, which matters here because you need to see the loop you're going into. Use the hook recommended for your yarn or pattern; a US H-8 (5 mm) with worsted yarn is comfortable for practicing.
Abbreviations (US terms): ch = chain, sc = single crochet, hdc = half double crochet, dc = double crochet, st(s) = stitch(es), sl st = slip stitch.
Working in the Opposite Side of the Chain Written Steps
From the original post: Are patterns that call for working the opposite side of a chain stressing you out? No need to fear anymore :) In this video Julia shows you how to do just that!
Step 1: Make your foundation chain. Work your first row of stitches into the chain the way your pattern says (usually into the top loop, or the top loop and back bump).
Step 2: When you reach the end of the chain, do not turn the work over. Rotate it so the unworked bottom edge of the chain is on top, with the stitches you just made hanging below.
Step 3: Work your stitches into the free loops along the bottom of the chain, one stitch per chain, heading back toward where you started.
Step 4: If the pattern is an oval, add extra stitches in the first and last chain so the ends curve. If it's a flat two-sided piece, work one stitch per chain and stop.
Step-by-Step: How the Technique Works
- Know the chain's three strands. Every chain stitch has two loops on top that form a V, and one bump on the back. The first row uses some of those strands and leaves the rest free.
- Finish the first row. Work across the chain into the top loop (or top loop and bump). The free loops left on the bottom edge are what you'll use for the second side.
- Rotate, don't flip. Keep the same side facing you and spin the piece 180 degrees so the free edge is up. Flipping it over puts the wrong side out and changes the look of the edge.
- Work the free loops. Insert the hook under the free loop (or loops) of each chain and make your stitch. Each chain gets one stitch unless the pattern says otherwise.
- Join or keep going. On an oval you'll meet your starting point and slip stitch to join or spiral on. On a flat piece, turn as usual.
Tips and Common Mistakes
- If the first row used the back bump, both top loops are free for the second side, which gives a neat, full edge. If the first row used the top loop only, one top loop and the bump remain; use both for a stable stitch.
- Count the chains before you start. The second side must have the same number of stitches as the first. Miscounting shows up as a lopsided oval.
- Loosen the chain. A tight foundation chain is hard to get into from the other side. Chain with a hook one size larger if you'll be working both sides.
- Add stitches at the ends on ovals. Patterns put three or more stitches in the end chains so the piece rounds the corner. Skip them and the oval will cup.
When You'll Use This
You'll use this in flat ovals for bag bottoms and baskets, in slipper soles, in the body of a crochet heart, in leaves and petals, and in scarves that start from a center chain so both ends match. Cotton and sport weight yarns make the crispest edges for bags; worsted and bulky are quicker for baskets and slippers.
Related Stitches
- Crochet Starting Chain — the foundation you'll be working both sides of
- Single Crochet Stitch — the stitch most ovals and soles are worked in
- Join in the Round — what to do when you reach your starting point
- Browse every crochet stitch tutorial
Yarn for This Stitch
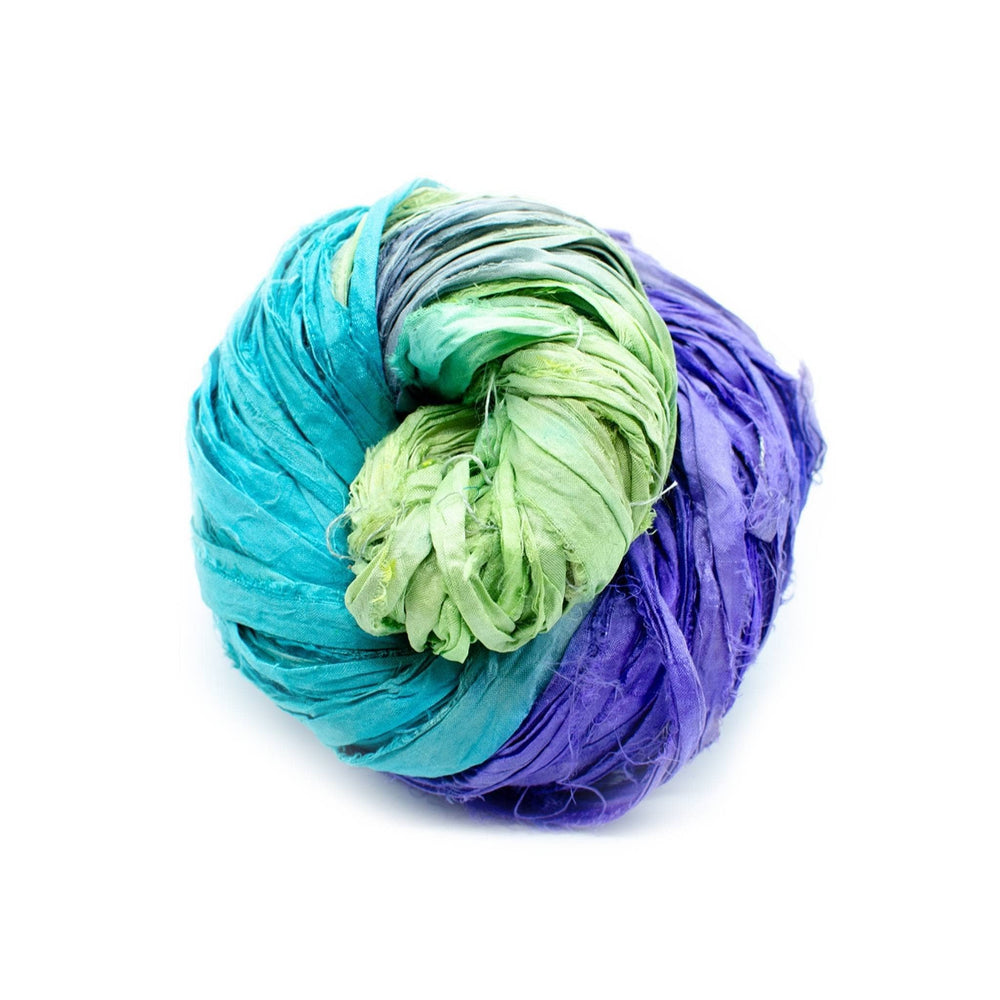
A smooth yarn makes the chain's free loops easy to see. Darn Good Twist Sport Weight Silk Yarn suits bag bottoms and small pieces; DGY's worsted weight yarn suits slippers and baskets. Both are recycled silk, hand-dyed by artisans in India.
If you'd like a new skein to practice on every month, Yarn of the Month sends three hand-dyed skeins with a knit and crochet pattern written for them, $29 a month plus shipping.
Working in the Opposite Side of the Chain FAQ
Which loop do I crochet into on the opposite side of the chain?
Whatever loops were left free after the first row. If you worked the first row into the back bumps, go under both top loops. If you worked into the top loop, go under the remaining loop and the bump together.
Do I turn the work or rotate it?
Rotate. Keep the same side facing you and spin the piece so the bottom of the chain is on top.
Why does my oval cup or ruffle?
Too few stitches in the end chains makes it cup; too many makes it ruffle. Follow the pattern's end-stitch count exactly.