Rewards
About Holi
Written by Kate Curry

Every year, millions celebrate Holi (pronounced "Holy"), a Hindu festival that symbolizes the end of Winter and the start of Spring. Dating as far back as the 4th century, Holi is seen as a celebration of the victory of good over evil and is a time for love, friendship, forgetting past troubles, and forgiveness. Holi is famous for the 'throwing of colors,' where crowds of people throw colored powder (called Gulal) at each other- like a food fight, which results in giant rainbow clouds of powder decorating everyone.
This may sound familiar to you! However, Holi is also known as the festival of colors and is celebrated worldwide, not just in India.

Across the world, it's popular to see Holi-Runs or Holi marathons. The largest marathons are organized by The Color Run - which donates a percentage of the entry fees to local charities! Their goal is to build community and inspire people to live more actively.

The original Holi festival is celebrated in March, and the date differs yearly. This two-day event is based on the Hindu lunar calendar and is held on the night of the full moon. This year, it starts on March 7th and ends on March 8th (TODAY)!
The traditional Holi celebration is a massive party. Singing, dancing, bonfires, water balloons, and throwing colored powder - Holi is a time for people to come together and release all the negatives that have piled up over the last year. People let their inhibitions with food go as well - traditional Indian sweet and savory foods, such as Dahi Vada (a street food made of yogurt and deep-fried dumplings) and ladoos (sweet little balls made of sugar, flour, fat, and nuts), are easy to come by during the festival.

Looking out my window, everything is grey and cold. I speak for all of us here at Darn Good Yarn when I say we could all use spring colors and sunshine pronto. Spring? Who's she?
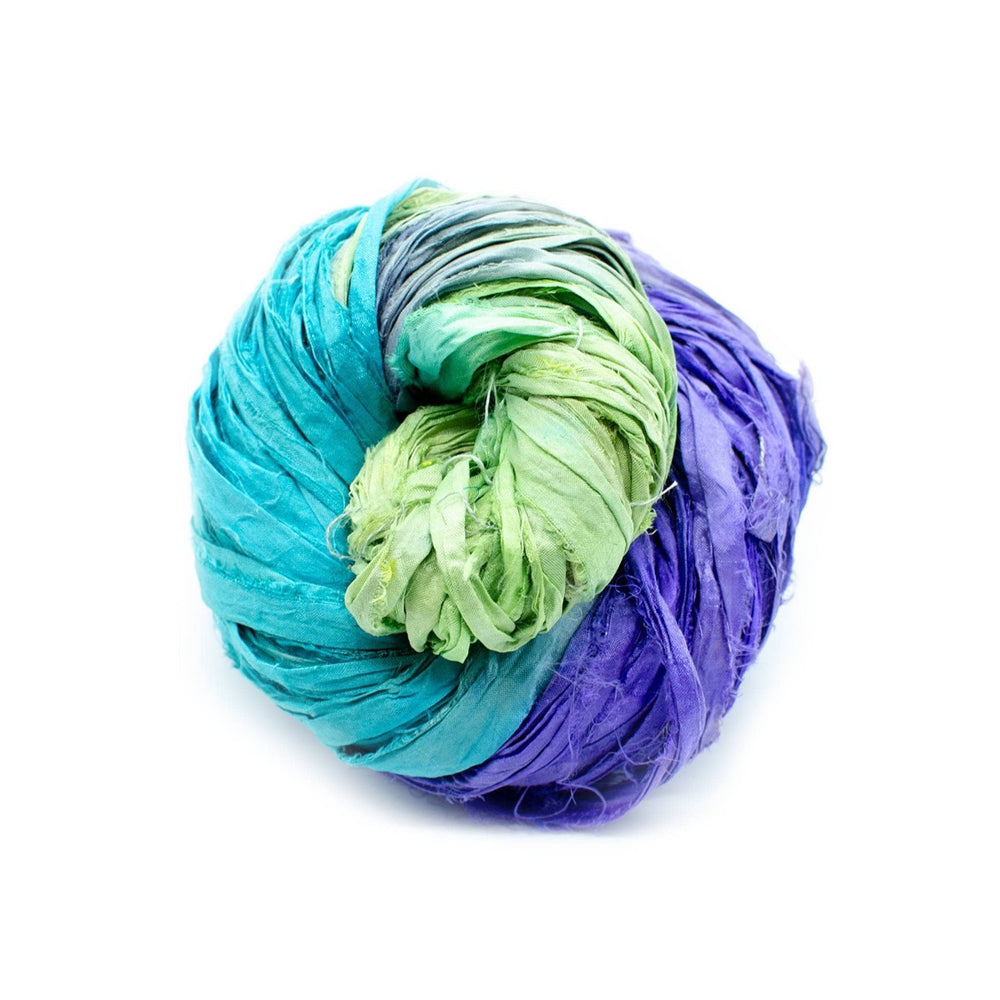
A great way to bring that tradition to crafting would be to dye some yarn using vibrant colors in Holi celebrations.
The Yarn and the Dye
While it’s possible to dye using colored powders commonly used in Holi celebrations, they are not commonplace. Moreover, they cannot always be guaranteed to be non-toxic to people and furry friends.
A safe option is to use Kool-Aid or food coloring - and we were surprised at how well it worked! It ended up being so easy, mess-free, and fun!
Before We Begin
Gather supplies!
GET THE RIGHT YARN: Using yarn made of “protein fibers” is essential if you want the dye to work. Yarns that have protein fibers come from animals like wool or silk. These fibers react to dye differently than plant-based fibers like cotton or linen or plastic-based yarn like acrylic, which require more of a process to lock in any color.
SAFETY NOTE: We had access to a sink to rinse and cool down the boiling yarn and water. Be sure to exercise caution when working with boiling water as it gets absorbed by the yarn, and touching it can be very hot even if you’ve removed the yarn from the bowl or pot.
STAINING NOTE: We found that once the yarn had absorbed the Kool-Aid, it did not release from the yarn. We were shocked to see the yarn absorb all the color, leaving behind a near-clear liquid in the bowl. None of our kitchenware was stained or affected by Kool-Aid and food coloring, although I would be wary of using wooden utensils and stick to metal or plastic if possible.
That being said, if you get concentrated Kool-Aid or food coloring on your hands or clothes or children or pets before the yarn has absorbed it, it will stain your skin, and people will look at you funny in public for a day or two before it goes away. But it will go away. Use rubber or latex gloves if you’d like to avoid looking like this:

COLOR NOTE: We found that the packaging for Kool-Aid does not make it clear which color the powder/drink will turn out to be. For instance, some blue packets on the outside contained red powder. We found that the little Kool-Aid Man graphic is holding a glass of the beverage on the outside of the packaging. That is the proper way to tell what color the powder will be. Oh yeah...we found out the hard way.
Kool-Aid Dyeing: The Process
Dyeing the yarn is quite simple. Here is a list of all the items you’ll need:
Material List
- Undyed Yarn (see above for our recommendations)
- Kool-Aid (colors are up to you - about 0.5 - 1.0oz per skein)
- A pot to boil water in
- A ladle
- Tongs
- A few ceramic or metal mixing bowls (safe to hold boiling water)
- Aprons and potholders as needed
- Rubber gloves (optional)
- A drying rack (optional)
- A few rags (optional)
Procedure
- Boil several quarts of water in the pot
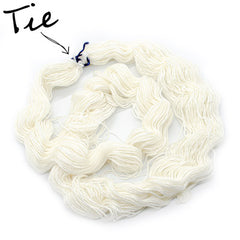
- Shake out your yarn into a hank (a loose ring. Be sure to keep the ring tied in at least one spot so you have a way to get it back into ring-form it if things get out of hand)
Loose and ready for dyeing - Using the tongs, submerge your yarn in the boiling water pot until it is saturated. The heat is essential to make the dye bind to the yarn.
- Pour some Kool-Aid powder into a separate heat-safe mixing bowl. We used approximately 1-3 Tablespoons for each skein, depending on how bold we wanted the colors. (Thicker yarns will take more Kool-Aid. Experiment with multiple colors if desired. Remember that you don't need to completely cover the yarn to get a beautiful result.)
- Add about 2 cups of boiling water to your mixing bowl. The Kool-Aid will gurgle a bit when you add boiling water. This is normal.
- Add your wet yarn to the bowl. Flip, twirl, or stir to coat your yarn as desired. Add more water or Kool-Aid as needed to achieve the desired look
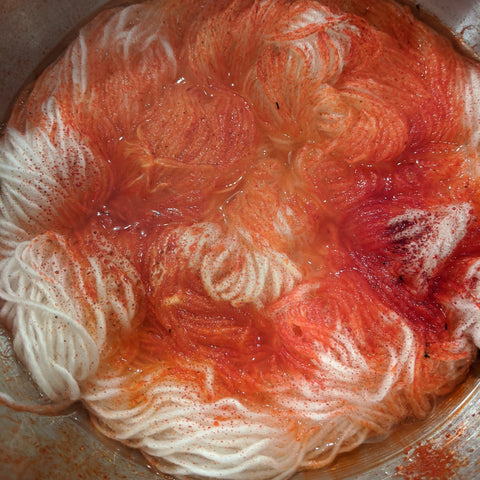
Yarn, not spaghetti - Let your yarn sit for a minute or two.
- Using Tongs, carefully remove the yarn and run it under cold water in the sink until cool. The water should run clear, and the dye should hold in the yarn.
- Lightly squeeze the water out of the yarn and set it to dry. While we were somewhat cavalier about this and just hung it over the counter to dry, you may want a bucket, drying rack, or towel you don’t care about to provide a safe drying space for your yarn. Also, try not to wring out your yarn over to speed up drying, as it can fray your yarn a bit.

Yarn dries best when it's hung or placed on towels What was most astounding about this was there was very little mess to clean up because the dye held in the yarn so well. It was easy and didn’t require chemicals or special equipment, just ordinary kitchen pots were fine, and everything worked out because it was food safe.
If you’re wondering what I think you’re wondering, yes, the yarn does smell like Kool-Aid. The smell will fade, so you’ll not be stuck with a Berry-Blaster, Wild Wild Watermelon shawl, or socks. Kool-Aid is also Sugar-Free, so the yarn is not sticky after dyeing. Each flavor of Kool-Aid has different ingredients, so be sure to check the ingredients list if you have food allergies, just to be safe.
- We recommend washing your yarn and any projects you make with it with cool water. Soap is likely to speed up any natural fading of colors. Be gentle with it.

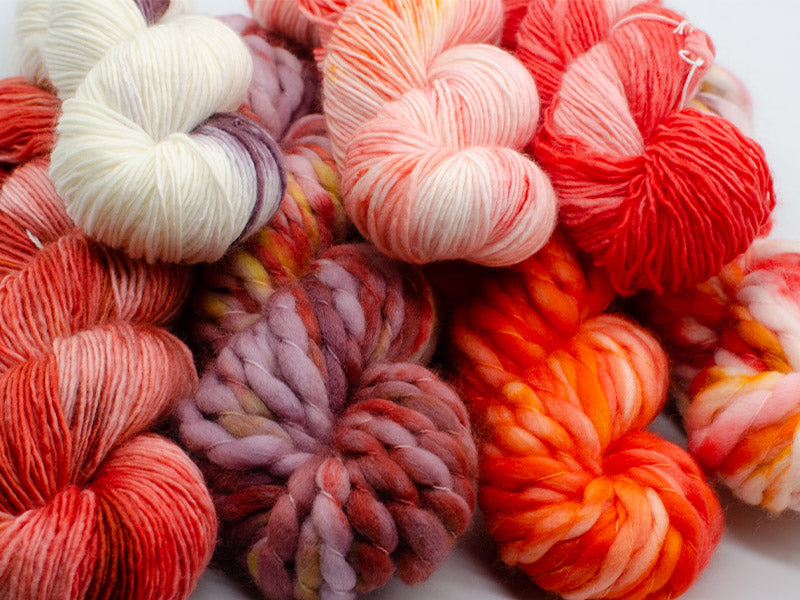
The Kool-Aid Results
Food Color Dyeing: The Process
Dyeing the yarn with food coloring is quite simple. Here is a list of all the items you’ll need:
Material List
- Undyed Yarn - preferably Darn Good Yarn
- Food Coloring (we used liquid/gel food coloring)
- Dish Pan or Glass Bowl (microwave safe)
- White Vinegar
- Cups/Squirt Bottles (something to mix and pour the dye with)
- Microwave
- Plastic Wrap
- Rubber gloves (optional)
- A drying rack (optional)
- A few rags (optional)
Procedure
- Shake out your yarn into a hank (a loose ring. Be sure to keep the ring tied in at least one spot, so you have a way to get it back into ring-form it if things get out of hand
- Put your yarn in the dish pan/glass bowl that is microwave safe. Fill the pan/bowl with enough cool water to cover the yarn, and add three tablespoons of white vinegar to cover the yarn. Let the yarn sit for 30 minutes.

You can use a deep bowl for soaking your yarn. - Prep your dyes. We used 1/2 tsp and added it to 1/2 cup of warm water and 1 tbsp of white vinegar. You can add more or less coloring depending on how vibrant you want the colors to be! Mix your dyes in cups or squirt bottles to create multi-colored yarn.
- Remove your yarn from the water-vinegar soak and squeeze out as much water as possible, keeping the yarn slightly damp. Next, lay the yarn out flat (we used plastic wrap, but you could also use rags!)

- Apply your dye to your yarns. You can dip your yarn straight into your dye cup if you want the solid color yarn.
- Once the dye is applied, massage your yarn - make sure there are no bald spots (unless you want them!)

Our artisans make this look easy! - When you're done applying the dye, wrap your yarn tightly with plastic wrap. Let sit for 20-30 minutes to give the dye time to saturate the fibers.
- Place the yarn in your microwave-safe dish/bowl and heat that bad boy for 3-4 minutes. The yarn will be hot! Let it sit until it has cooled (about 15-20 minutes.)
- Once cooled, it's time to rinse! Fill your dish/bowl with cool water and add a tiny squirt of dish soap. DO NOT USE HOT WATER!
- Gently wash your yarn until the water runs clear!
- When you're done, hang them to dry (we love drying ours in direct sunlight!)
The Food Color Results

I hope you enjoyed this tutorial and created some amazing yarn! Also, please share your dyeing results with us on Instagram or Facebook! We love seeing what you're up to and all the beautiful things you make. Maybe we'll even post your finished dyed yarn here for all to see!
Until next time, happy crafting.
XOXO,
Kate Curry

Kate has been on the Darn Good Yarn team since 2018.
They have their degree in Creative Art Therapy & Psychology - and like crafting and animals a little too much.