Rewards
BEFORE YOU START
Warm up your holiday spirit with our whimsical winter wall hanging. This advanced beginner level knitting pattern uses the fun and unique New Zealand Wool with felted balls to create a welcoming, whimsical and multi-holiday appropriate wall hanging that will surely serve as a conversation piece for all your holiday gatherings.
In order to complete this pattern, you should have an understanding of simple knitting techniques like casting on, knitting in garter stitch and making stitches with yarn over to begin a row. The finished piece can be attached to a hanging element of your choice. Designed with love by Theresa Denham, aka @TeaganAndLu.
Craft: Knit
Category: Home Decor - Wall Hanging
Difficulty Level: Easy
MATERIALS
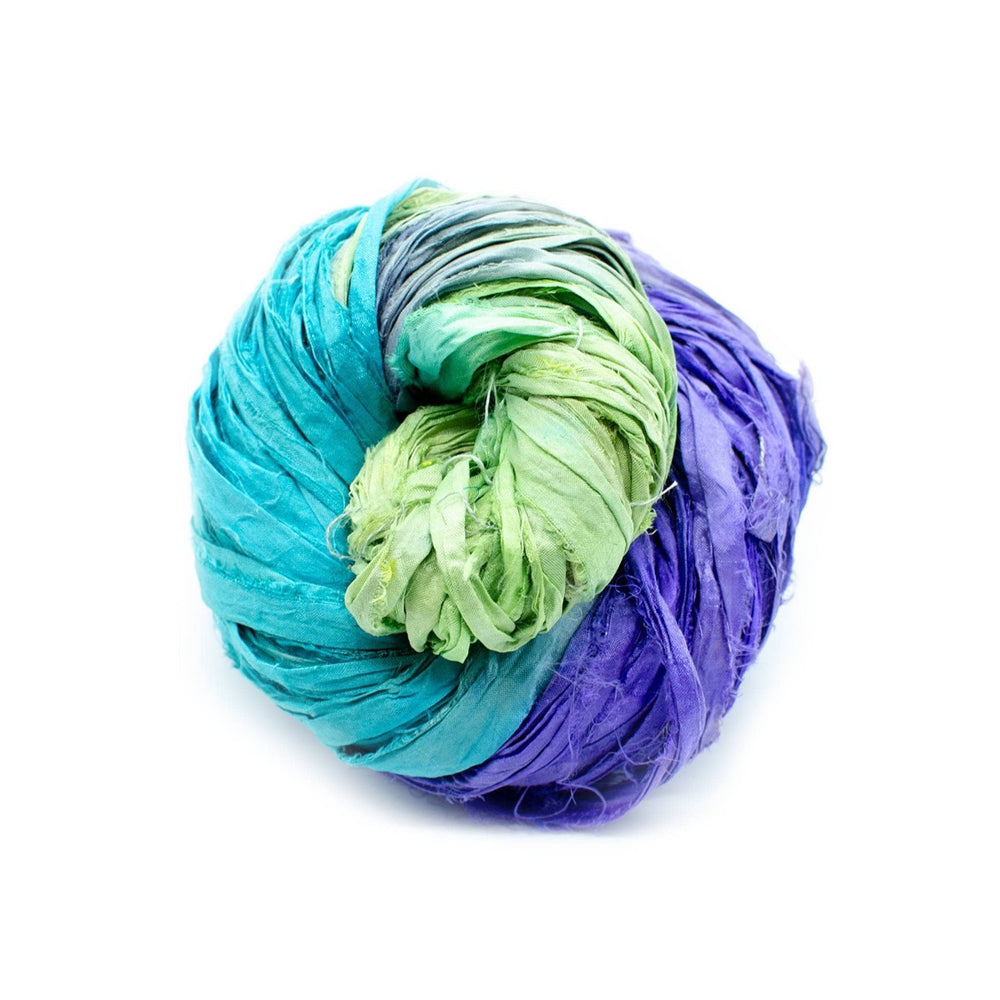
- 3 Skeins DGY Variegated Thick & Thin Wool Felt Ball Yarn (In White)
- US 19 (15 mm) Straight Knitting Needles (not included)
- Hanging Rod, Dowel or Stick (not included)
-
Tapestry Needle and Scissors (not included)
PATTERN NOTES
- Finished Scarf Measures: 9 x 40 in.
- Average gauge is 11 sts x 10 rows = 4x4 in.
- Due to the variegated weight of yarn, gauge and row count may vary. Rely on measurements to inform number of rows used to create piece.
- It may be necessary to manipulate the placement of the felt balls so that they only appear on the right side of the piece.
- Stitch Counts per row are in <brackets>
ABBREVIATIONS
K: KnitM1: Make One by Yarn Over
BO: Bind Off
RS: Right Side
PATTERN
Begin: Make a slip knot on the needle.

Row 1: K1. <1 st>
Row 2: M1, K across <2 sts>
Rows 3 - 18: Repeat Row 2 until there are a total of 18 sts in the row

Rows 19 - 90: K across <18 sts>
Row 91: BO once piece reaches 40" tall, leaving the final stitch on the needle. Leave a tail of 1-2 feet to attach the hanging to the hanging bar.

Finishing: Insert your hanging bar into the final remaining stitch. Thread the tail into the tapestry needle. Sew around the bar and into the top row of the wall hanging to attach the hanging bar. Continue sewing across the top of the knitted piece. Fasten off.


Tassel: With the remaining yarn, cut 20" lengths of wool to create a tassel. Gather the lengths of wool, and tie a 10" length of wool around the center point of the lengths of wool. Gather the ends of the wool together and tie the lengths into a tassel. You may choose to cut the additional felt balls off the tassel. Attach the tassel to the bottom point of the wall hanging.

Hanging Hook: Create a hanging hook by tying a length of string to the ends of the hanging bar.