Written by Kate Curry
Materials:
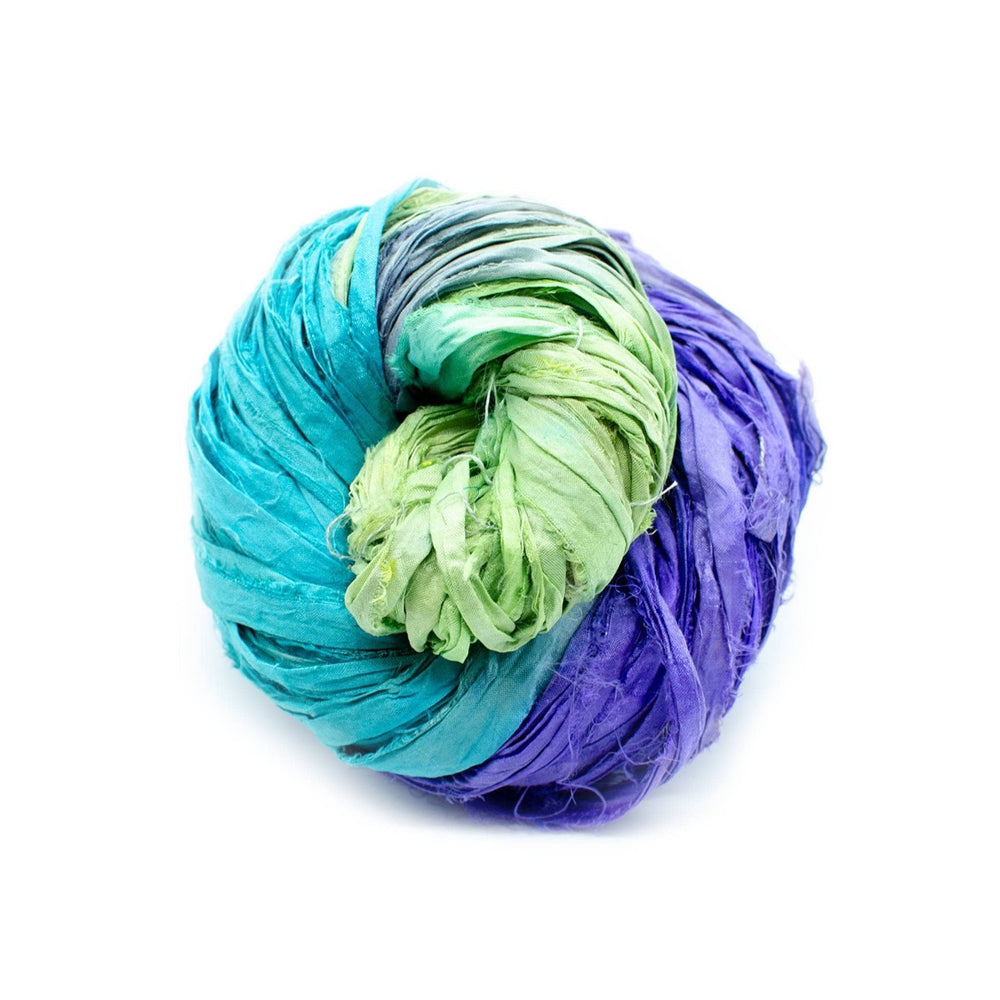
- 1 Cake of DGY Sparkle Worsted Weight Reclaimed Silk Yarn
- 2 Metal or wooden rings - one larger and one smaller (not included)
- Scissors (not included)
- Fabric Glue (not included)(optional)
- Floral wire (not included)(optional)(if you’re making your own rings!)

Techniques:
Make your own rings
You can make your own rings by curling floral wire around a cylinder to create any size or shape of wall hanging you'd like!

Pattern
Step One: Cut your yarn. You'll need 31 cords that are 3 yards each (or 105 inches).
Step Two: Using the smaller ring, fold your cords in half and attach to the ring.


Step Three: Once your ring is filled with cords, you’re going to plot out the macrame pattern. Place the smaller ring inside the larger ring so you can see how long you’ll need to knot the yarn for.

The pattern should look like this:
- 2 locks - Spiral knot
- 1 lock - no knot
- 1 lock- ½ hitch knot, halfway to the edge of the larger ring
- 1 lock - no knot
- And repeat
Go ahead and start working on your different macrame knots. To make it easier for me, I ended up putting my inner circle under the foot of my living room coffee table for leverage while I was knotting.

When you're all done, the pattern will look like this.

Step Four: Now that all your yarn is knotted, take each string and loop it around the larger circle twice. I attached the spiral strands first.
Step Five: Attach the ½ hitches to the larger ring. Spread out the two strands to create sunbeam effects

Step Six: For the strands with no knots, stretch them out between the ½ hitches and spirals to create some straight sunbeams.

Step Seven: Once all your strands are attached to your larger ring and are in the place you desire, tighten the knots. For extra security, I like to add a little bit of fabric glue around the edge.
Step Eight: Choose which part of the hanging that you want to be the “bottom”, which will have hanging yarn strands, and which part you want to be the “top”.
Step Nine: On the top of the ring, tighten the stands and knot off. Snip the yarn with a 1-2 inch tail.
Step Ten: On the bottom of the ring, leave the yarn long and hanging for now. We will trim it later.

Step Eleven: Using the excess yarn that you cut from the top, cut 4”-5” inch long strands. Fold in half and attach to the top of the circle in the bare spots to make the top of the ring look nice and full!

Step Twelve: Once the top is nice and full, fill in the bottom part of the ring with the remainder of the long, uncut yarn to make the bottom full.
Step Thirteen: Hang your wall hanging and trim the hanging yarn to your desire. Trimming it while it’s hanging will make sure you’re trimming the right amount and shape that you want! I left my tails about 7 inches long

Enjoy your shimmering sun!
 Rewards


