Looking for a fun handmade gift idea?
Dream catchers were traditionally made and used to protect sleeping loved ones from nightmares from afar. In modern culture, dream catchers can be found used in home decor and to add a little whimsy to any space. Dream catchers make a great handmade gift for friends and loved ones.
Designer Info
- Daniela Kretchmer
-
Website: www.abcrafty.com
- Instagram: ab.crafty
- Facebook: AB Crafty | @ABCrafty
- YouTube: AB Crafty DIYs
Materials List
- Thick Bendable Wire - The Designer used 16 Gauge Solid Wire
- Wire Cutters
- Scissors
- Strong Tape - The Designer used Clear Gorilla Tape®
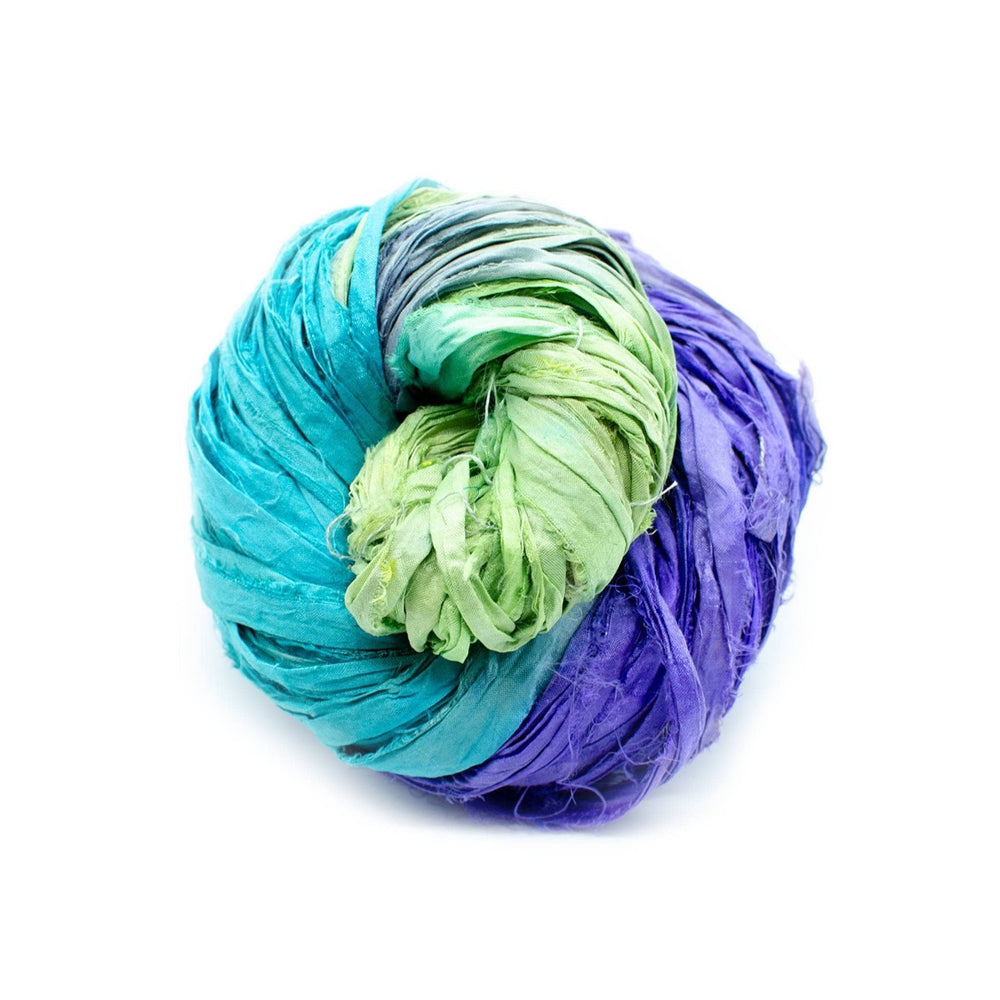
- Sari Silk Ribbon Yarn
Steps
- Use wire cutters to cut the wire to the size you would like the dream catcher to be. Then shape it into a circle and use strong tape to tape the ends together.

- Choose a color of sari silk ribbon yarn for the outside of your dream catcher. Tie the end to the wire circle.

- Wrap the sari ribbon around the wire circle, covering the tied off end as you start. When you get to the end, tie it into a knot and cut off the end.
Tip: Depending on how thick you would like the outside to be, you may need to wrap the ribbon over multiple times. I went around twice for mine.
- Choose another color of sari silk ribbon for the inside web (or use the same). Tie the end onto the circle. With the other end pull it a few inches down the ring, loop it over and back through the hole you just made.
Tip: I personally like the look of the twisted ribbon for the web so if you’d like to achieve the same, make sure to twist your ribbon as you work.
- Continue to move a few inches down the ring, adding loops until you reach your starting point. Make sure where the loops are placed are evenly spaced around the ring. Once you reach the end, continue making loops, but instead of placing them on the ring, you’ll loop them around the center of the lines of ribbon you just made. Start with the closest line of ribbon and repeat the process.

- After you’ve looped around the first set of lines, you’ll see you will have created a new set of lines. Continue this pattern of looping around the center of the lines of ribbon.

- Once you reach the center and it’s too small to make any more loops, tie the ribbon into a knot on itself and cut off the end.

- Choose the colors for the ribbons that hang down from the web. I used a combination of colors to make them pop a bit more. Start with one color and cut off a piece that is twice the length you would like the ribbon to hang down. Fold it in half and pull the folded end partially through the ring.

- Bring the ends of the ribbon through the loop made by folded part.

- Pull the ends of the ribbon so the loop tightens.
Tip: Pull gradually as the sari ribbon can break if quickly and forcefully pulled.
- Repeat this process for as many ribbons and colors as you would like. Then you can cut the ends if you would like to shape them. I made mine shorter on the sides than in the middle.

- Use a small piece of sari ribbon and tie it to the opposite end of the loop. Then tie the ends into a knot, forming a circle. This will be what you will use to hang up your dream catcher. Your dream catcher is now complete!

 Rewards


