Rewards
Before You Start:
This is the PERFECT bag for your next day at the Beach, Farmer's Market or Festival. Easily crochet this crossbody hemp purse with only 3 main pieces. Designed by the lovely Kelsea Dauth.
Click HERE to get the beach day bag crochet kit.
PROJECT DETAILS:
Skill Level: Easy
Craft: Crochet
MATERIALS:
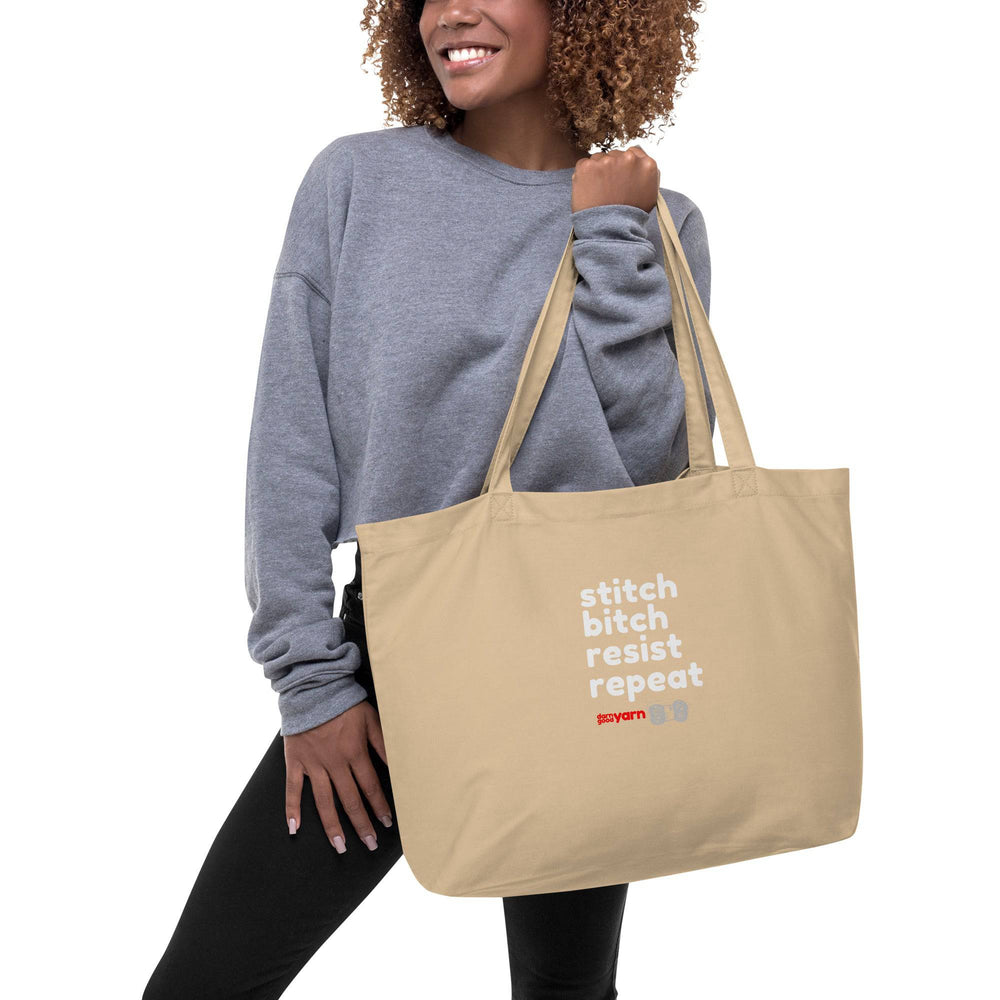
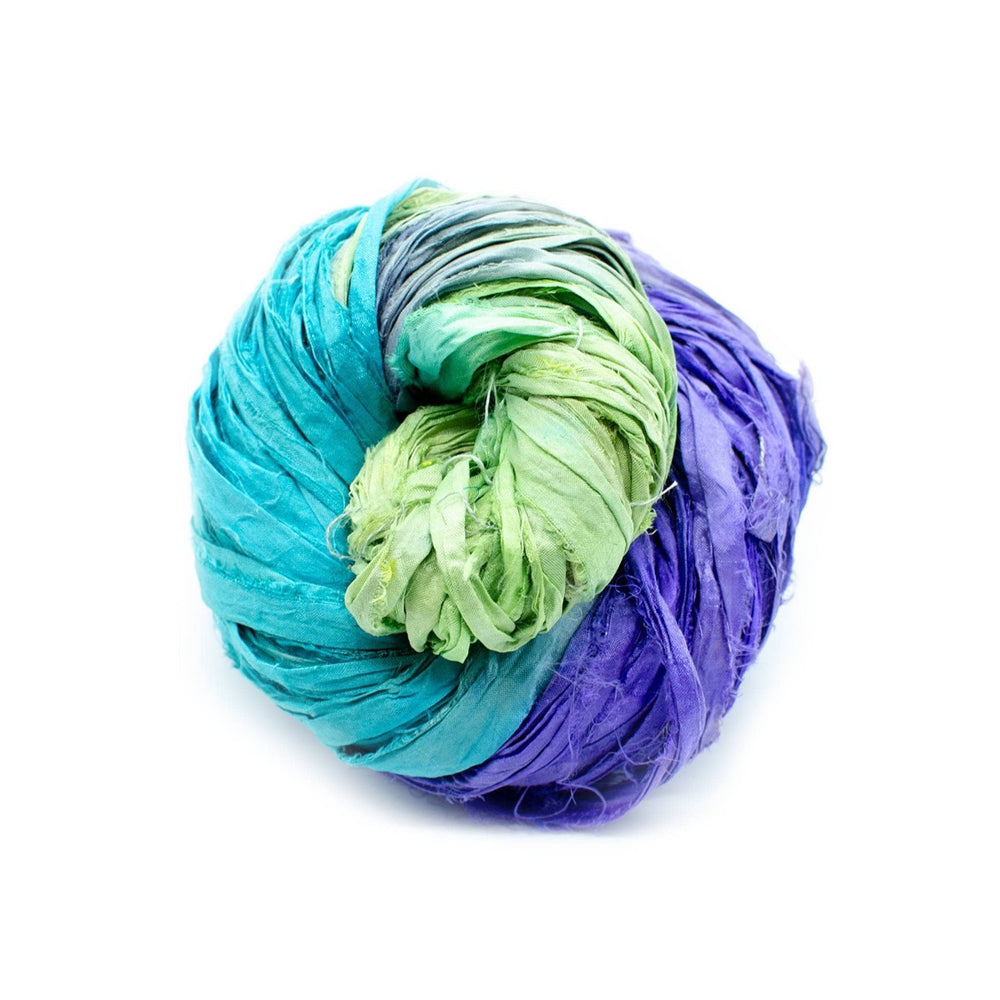
3 balls of of 3-ply hemp cord from Darn Good Yarn
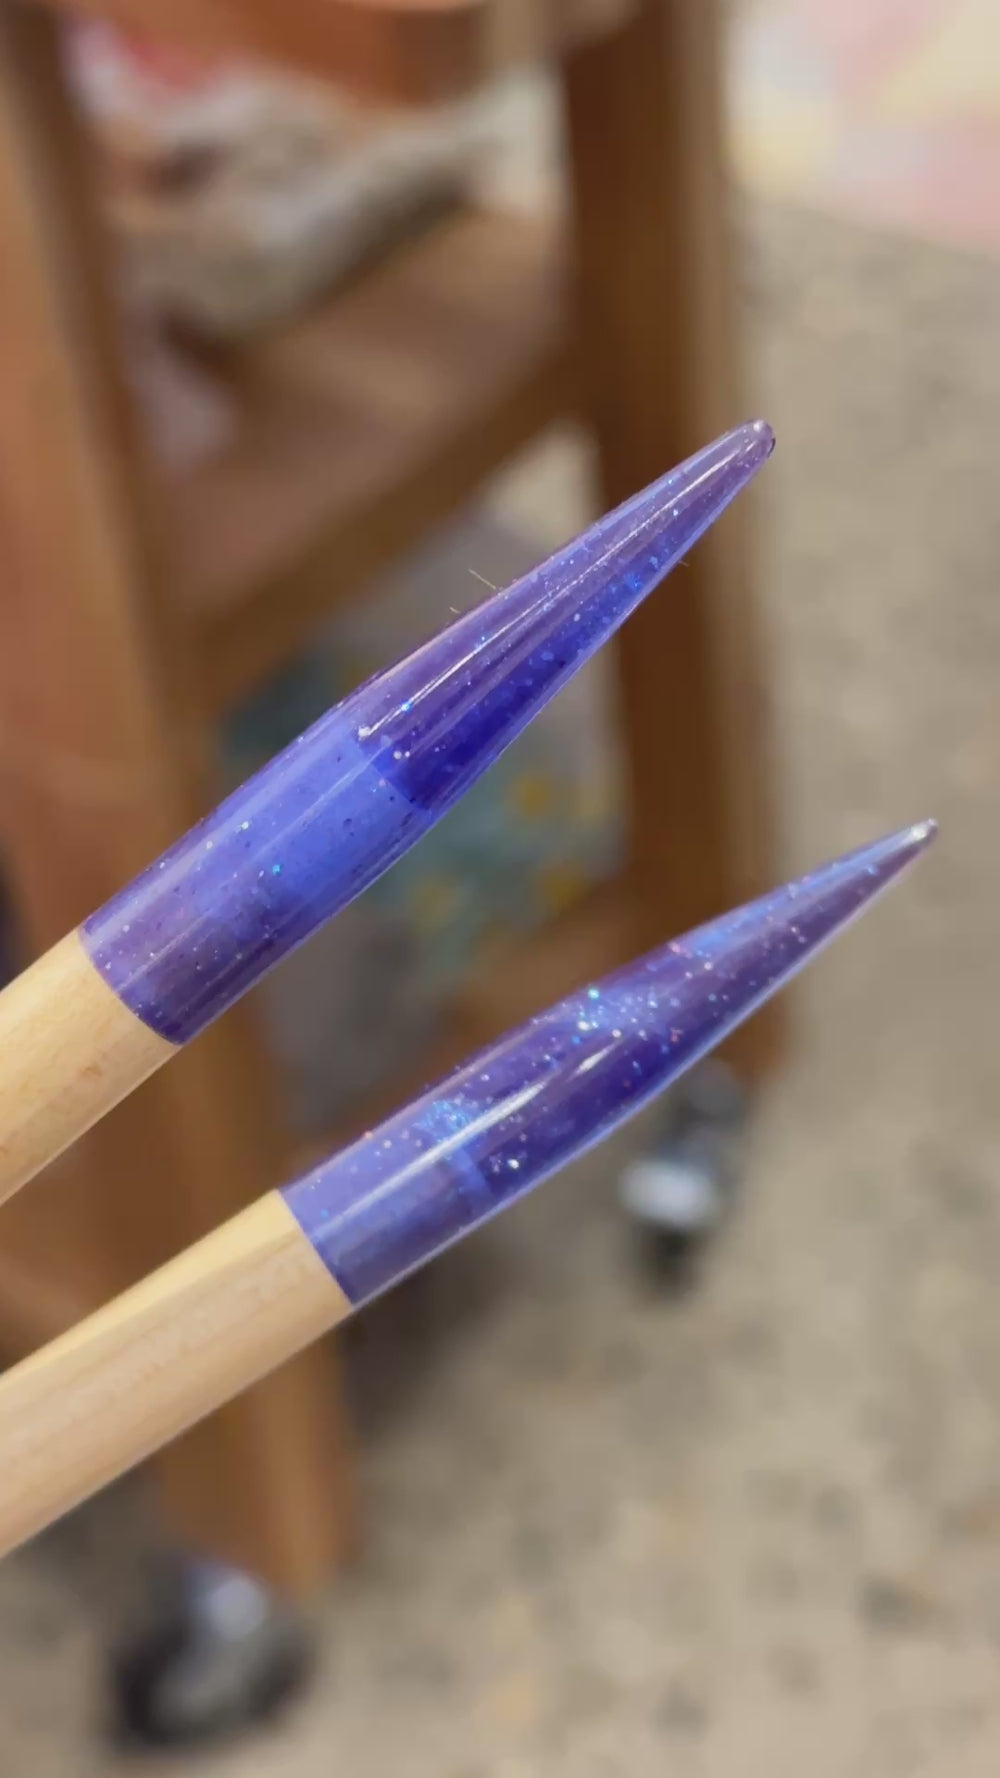
8mm hook
Darning needle
Scissors
Measuring tape
ABBREVIATIONS:
ch – chainsc(s) – single crochet(s)
st - stitch
inc – increase (two sc in one st)
sl st – sl stitch
bl – back loops
NOTES:
This bag is made from two circles that are sewn together at the sides, with a
strap then sewn to the top of each side.
You are given a stitch count at the end of each round, I encourage you to
frequently check this until you get the hang of the pattern.
INSTRUCTIONS

Body
Directions given in parenthesis are what need to be repeated for that round.
Begin with a magic loop- Sc 6 into the loop (6)
- 2 scs into each st (12)
- (sc, inc) (18)
- sc, inc, (sc 2, inc) x5, sc (24)
- (sc 3, inc) (30)
- sc 2, inc (sc 4, inc) x5, sc 2 (36)
- (sc 5, inc) (42)
- sc 3, inc (sc 6, inc) x5, sc3 (48)
- (sc 7, inc) (54)
- sc 4, inc (sc 8, inc) x5, sc 4 (60)
- (sc 9, inc) (66)
- sc 5, inc (sc 10, inc) x5, sc 5 (72)
- (sc 11, inc) (78)
- sc 6, inc (sc 12, inc) x5, sc 6 (84)
- CROCHET THIS ROUND LOOSE (sc 13, inc) (90)
- sc in the two bl for 76 sts (76) *see photo and notes below
- ch 1, turn, sc around (76)
Repeat for second circle
Your circle should measure about 10 – 11 inches in diameter.
Before beginning row 15 on the second circle, lay your current one on the first one to ensure they will be the same size. Working with hemp at first, your gauge can get a little skew, don’t be afraid to do more or less rows on the second circle in order to get a proper fit.
*Crocheting into the two back loops versus just the typical one, makes for a much stronger bag. However, if you do not feel comfortable with this you may use just the one back loop.
Once both circles are complete, lay them with wrong sides facing together. Sew together, using a wip stitch, on just the last two rows. This creates the sides and the opening of the bag.
Strap
When beginning the strap, leave about 12 inches of yarn before the first ch. Do the same at the end before cutting and finishing off. This will give you yarn to use to sew the strap one.
-
Ch 5, sc in the 2nd ch from the hook and across (4)
-
Ch 1, turn, sc across (4)
-
Repeat the 2nd step until the strap measures 40 inches, or your desired length. Give the strap a gentle stretch, every few rows, to encourage how it will naturally pull when carrying the purse.
-
Using about an inch of the strap, sew it into place on the inside of the bag. (I recommend using as much of the 12 inches as you can and sewing it into place everywhere on that 1 inch of strap. This will make for maximum strength and increase the life of your bag.)
*If you wish for a longer or shorter strap, keep in mind you will need about an inch on both sides of the strap to sew it onto the purse.
Tie in and cut off any remaining ends, and you’re done!