Ho ho ho! The holidays are almost here, which means it's time to start working on those handmade projects! Today we have an adorable, beginner-friendly knit or crochet project for you, brought to you by Janica York Carter (@janicacarter on Instagram): DIY Santa Hats! Whether you're a new knitter or crocheter, or your skills are more advanced, this project is an easy and fun make. We're also offering a full kit, including all the yarn you'll need to make your Santa Hat. These hats make for festive party outfit accessories, amazing handmade gifts for kids, unique tree toppers, or extra-special Santa Hats for your Christmas parties!
The instructions for knit and crochet are all listed below, including link a link to the full kit. Happy crafting!
Materials
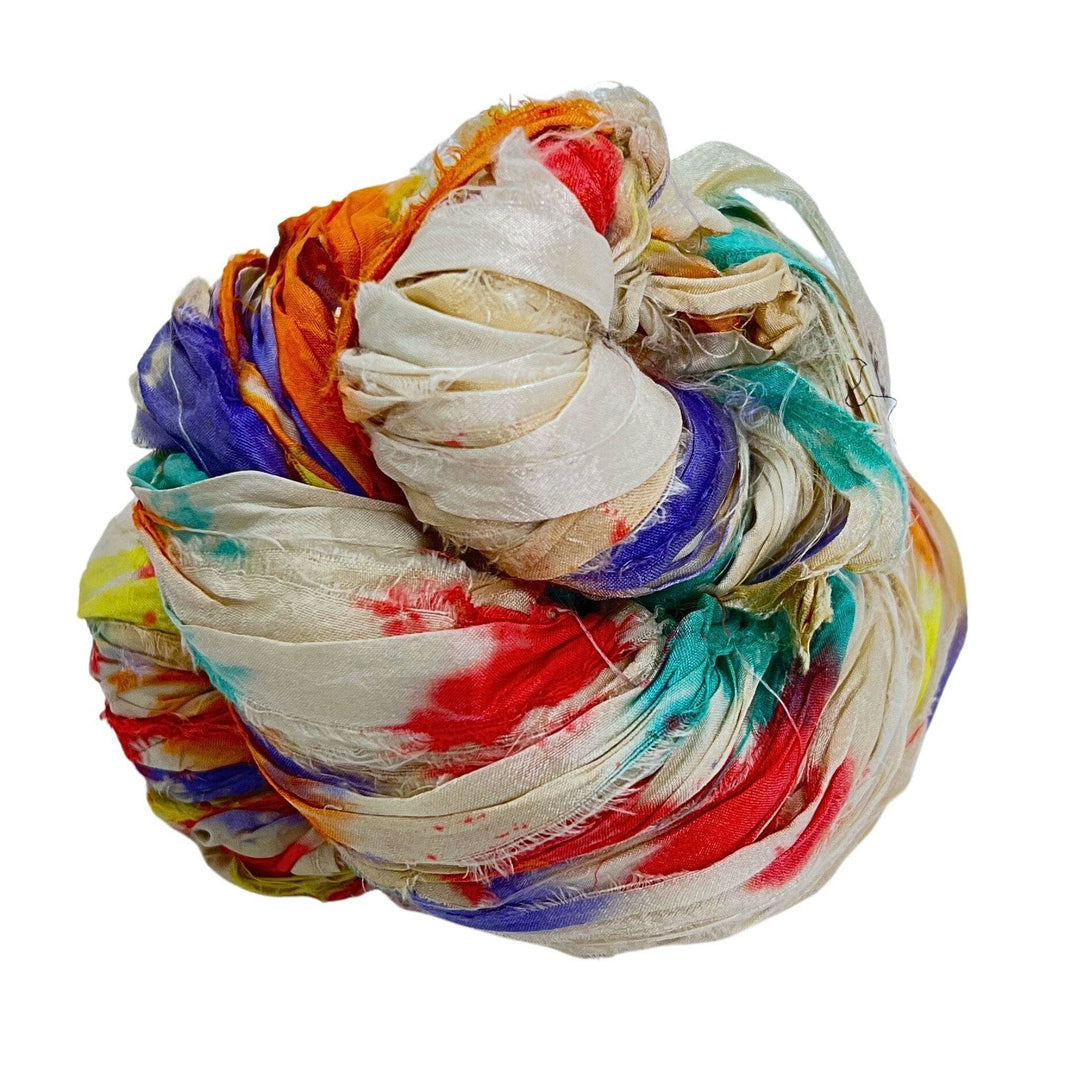
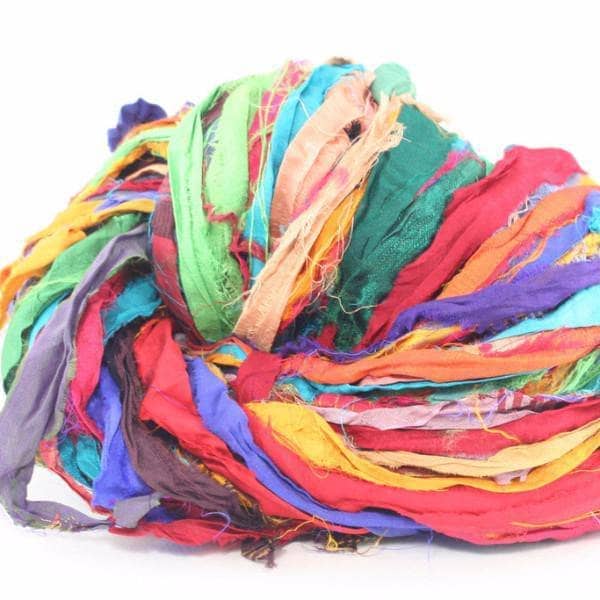
- 2 Skeins of DGY Recycled Silk Yarn Lux Adventure: Cherry Red
- 1 Skein of DGY Recycled Silk Yarn Lux Adventure: White Cream
- Scissors (not included)
- 1 Stitch Marker (not included)
- 1 Yarn Needle (not included)
- 1 Pompom Maker (not included)
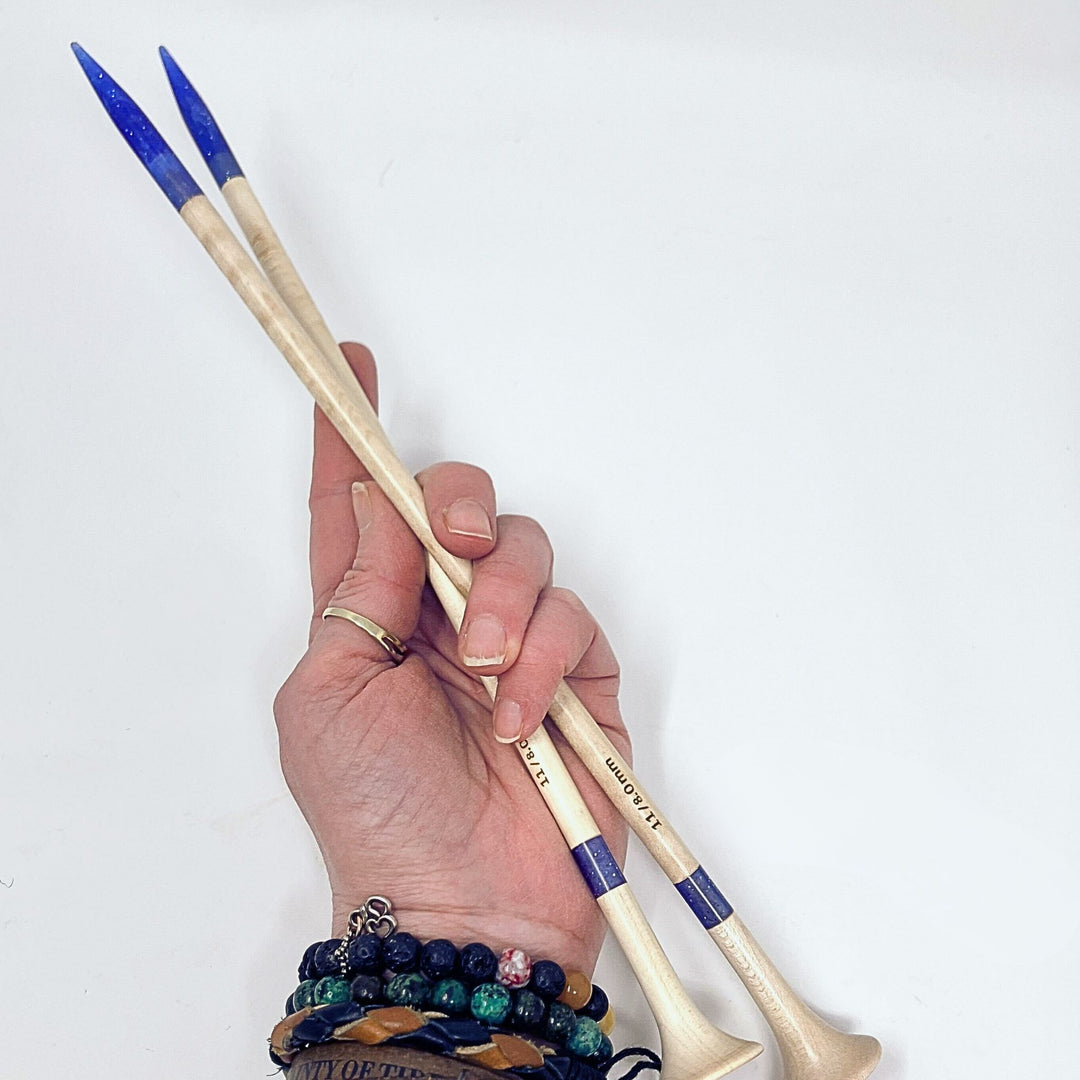
- (Knitting Only) Size 9 US (5.5 mm) Double Pointed Knitting Needles (set of 5), or 16" Circular Needles for Magic Loop (not included)
- (Crochet Only) Size J/10 (6 mm) Crochet Hook (not included)
Knit Instructions
Notes
- Finished Project Dimensions: Approximately 13"tall, 12" diameter
- Gauge: 12 sc and 13 rows = 4"
- Gauge is not crucial; once hat is desired diameter, stop increasing rounds and work even until the hat is at the desired height. Trim adds approximately 1"to the final height.
- I recommend using double-pointed needles because it simplifies the pattern as follows: CO and work through Rnd 4 as written. Beginning at Rnd 5, repeat the following 3 rnds until you reach desired diameter: Round 1: Kfb in first st, k across ea dpn: (increases 4 sts) Rounds 2-3: K around. Work even until hat is approximately 1"from desired height before working trim as written.
Knit Abbreviations
DPN(s): Double Pointed Needle(s)
CO: Cast On
ST(s): Stitch(es)
EA: Each
RND(s): Round(s)
K: Knit
KFB: Knit front and back of same stitch
BO: Bind Off
PICOT: Without turning work, k1, slip st back onto left needle, co 3 sts, bo 3 sts
Knit Pattern
Using 2 dpns and main color, co 8 sts. Place 2 sts on each of 4 dpns to form base rnd.
Rounds 1-4: K around: 8 sts.
Round 5: (Kfb, k 1) 4 times: 12 sts.
Rounds 6-7: K around.
Round 8: (Kfb, k 2) 4 times: 16 sts.
Rounds 9-10: K around.
Round 11: (Kfb, k 3) 4 times: 20 sts.
Rounds 12-13: K around.
Round 14: (Kfb, k 4) 4 times: 24 sts.
Rounds 15-16: K around.
Round 17: (Kfb, k 5) 4 times: 28 sts.
Rounds 18-19: K around.
Round 20: (Kfb, k 6) 4 times: 32 sts.
Rounds 21-22: K around.
Round 23: (Kfb, k 7) 4 times: 36 sts.
Rounds 24-25: K around.
Round 26: (Kfb, k 8) 4 times: 40 sts.
Rounds 27-28: K around.
Round 29: (Kfb, k 9) 4 times: 44 sts.
Rounds 30-31: K around.
Round 32: (Kfb, k 10) 4 times: 48 sts.
Rounds 33-34: K around.
Round 35: (Kfb, k 11) 4 times: 52 sts.
Rounds 36-37: K around.
Round 38: (Kfb, k 12) 4 times: 56 sts.
Rounds 39-40: K around.
Round 41: (Kfb, k 13) 4 times: 60 sts.
Rounds 42-43: K around.
Round 44: (Kfb, k 14) 4 times: 64 sts.
Rounds 45-60: K around.
Break off main color.
Round 61: With trim color, (k 1, picot) around: 32 picot sts.
Round 62: Picot, (k1, bo 1 st, picot, bo 1 st) around.
Break off trim color.
Weave in ends with yarn needle.
Using remaining trim color, make pompom and secure to tip of hat.
Crochet Instructions
Notes
- Finished Project Dimensions: Approximately 13"tall, 12" diameter
- Gauge: 12 sc and 13 rows = 4"
- Gauge is not crucial; once hat is desired diameter, stop increasing rounds and work even until the hat is at the desired height. Trim adds approximately 1" to the final height.
- This hat is made from the top down beginning with a magic loop. If you prefer, you may begin by chaining 2 stitches and working the first 8 single crochet stitches into the second chain from the hook. Work hat in the round in a spiral fashion; do not join rounds.
Crochet Abbreviations
SC = Single Crochet
RND(S) = Round(s)
EA = Each
REM = Remaining
CH = Chain
SK(PD) = Skip(ped)
ST(S) = Stitch(es)
LP(S) = Loop(s)
Crochet Pattern
Using main color, work 8 sc in magic loop and tug tail to secure into base rnd. Place marker on first sc if desired.
Round 1-3: Sc in ea sc around, moving marker to firs sc of ea rnd if desired: 8 sc.
Round 4: (2 sc in next sc, sc in next sc) around: 12 sc.
Round 5: and all rem odd rnds: sc in ea sc around.
Round 6: (2 sc in next sc, sc in next 2 sc) around: 16 sc.
Round 8: (2 sc in next sc, sc in next 3 sc) around: 20 sc.
Round 10: (2 sc in next sc, sc in next 4 sc) around: 24 sc.
Round 12: (2 sc in next sc, sc in next 5 sc) around: 28 sc.
Round 14: (2 sc in next sc, sc in next 6 sc) around: 32 sc.
Round 16: (2 sc in next sc, sc in next 7 sc) around: 36 sc.
Round 18: (2 sc in next sc, sc in next 8 sc) around: 40 sc.
Round 20: (2 sc in next sc, sc in next 9 sc) around: 44 sc.
Round 22: (2 sc in next sc, sc in next 10 sc) around: 48 sc.
Round 24: (2 sc in next sc, sc in next 11 sc) around: 52 sc.
Round 26: (2 sc in next sc, sc in next 12 sc) around: 56 sc.
Round 28: (2 sc in next sc, sc in next 13 sc) around: 60 sc.
Round 30: (2 sc in next sc, sc in next 14 sc) around: 64 sc.
Round 31-38: sc in ea sc around: 64 sc.
Fasten off main color.
Round 39: Join trim color to first sc of Rnd 38; ch 1, sc in first sc and in ea sc around: 64 sc.
Round 40: (Ch 6, sk next sc, sc in next sc) around: 32 ch-6 lps.
Round 41: Holding ch-6 lps in front of work, (ch 6, sc in next skpd sc on Rnd 39) around: 32 ch6 lps.
Round 42: Holding ch-6 lps in front of work, 2 sc in ea sc around: 64 sc.
Round 43: Holding ch-6 lps in front of work, (ch 6, sk next sc, sc in next sc) around: 32 ch-6 lps.
Fasten off trim color.
Weave in ends with yarn needle if desired, or using crochet hook.
Using rem trim color, make pompom and secure to tip of hat.
Congratulations!
You did it! You've just made your very own Santa hat to accompany you during all your holiday festivities. Now all you need to do it sit back, relax, and enjoy the holidays with your loved ones!
Stay in touch!
To never miss out on the best deals, giveaways, and new products, sign up for our FREE newsletter by clicking the button below.
 Rewards


