 Rewards
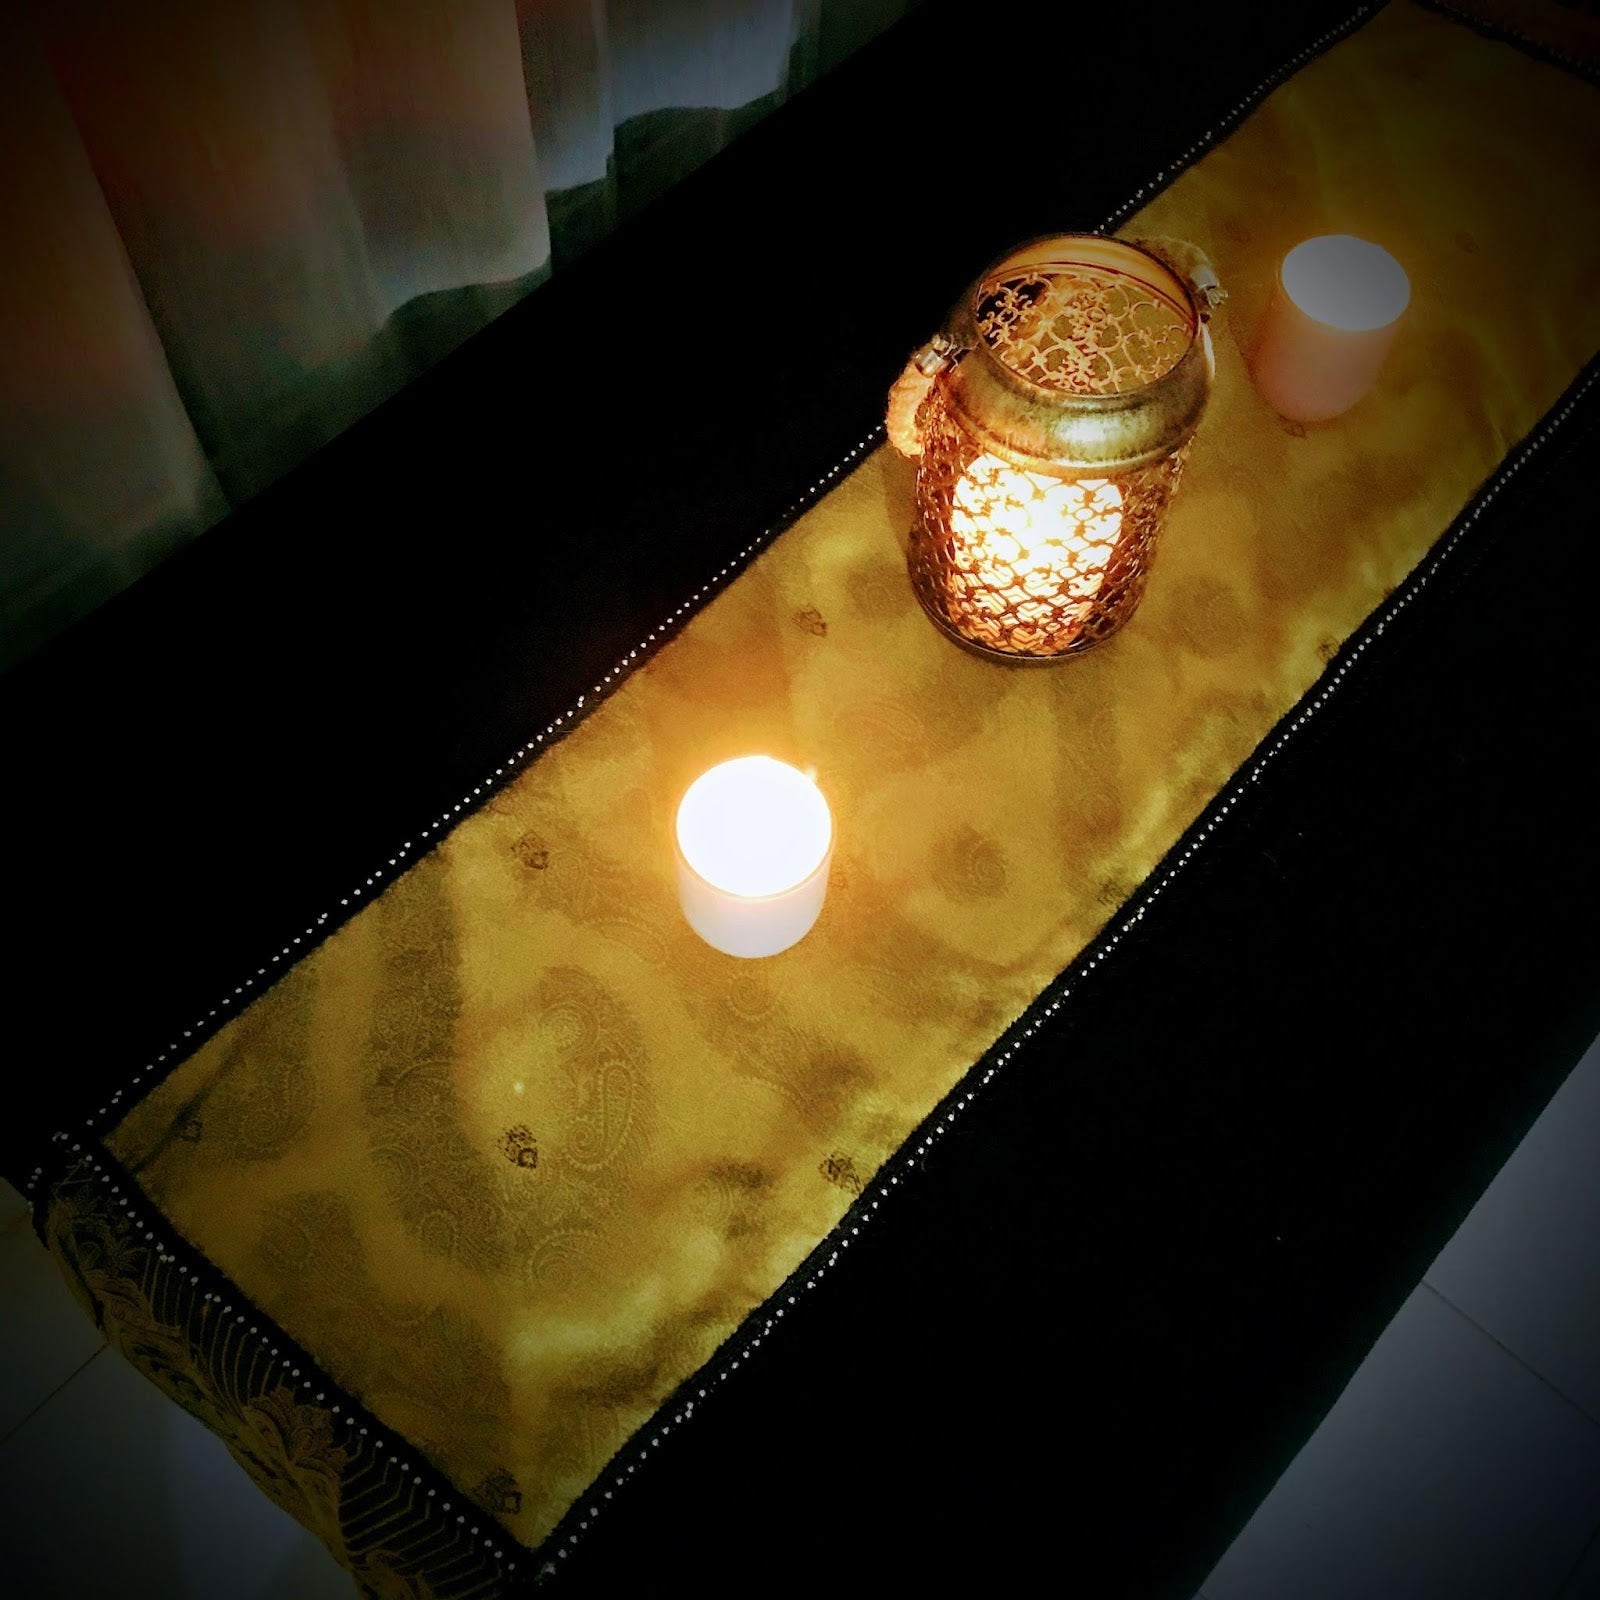
In need of a beautiful silk table runner that is also eco-friendly? ♻ We have you covered! Join us in crafting our Sari Silk Table Runner using our recycled fabric packs. It will make a beautiful addition to your home!

List of materials needed:
- Recycled Sari Fabric Pack ♻
- Ruler
- Measuring tape
- Fabric marker
- Scissors
- Needle
- Pins
- Coordinating DMC thread
- Hot glue gun

Helpful Hints
- Steam iron the fabric.
- When cutting the fabric make sure to save the borders for each end to attach separately to the runner.
- Work efficiently with the piece of fabric you get to get a good length and a width.
Step 1:
Cut the fabric and into a W 22” x 42” L piece. This main piece will be folded and will be double layers. Cut 2 pieces of the border section of the fabric to attach separately to the main fabric piece late. This is due to the fabric piece you get in the pack. The borders will be a single layer.

Step 2: Main Assembly
Flip the fabric to the wrong side, now fold the main piece of fabric widthwise right in the middle to get 2 layers. Fold the edge twice to make a hem and secure it with pins. The hem is about ¾ inches. The hem will be only to one side. Using coordinating DMC thread whip stitch the hem. The gauge is 3 threads. Now the width should be approximately 10/12 inches. Turn inside out like a pillow case. This is the Main piece of the Table Runner. This will measure approximately 10.5 inches in width and 41 inches in length.
Instructions on how to Whip Stitch
- Begin the whip stitch by tying a knot in the end of your thread. Then poke your needle up through the top layer of the fabric, about 1/8” in , from between the two pieces. This way the knot will be between the two pieces of the fabric and will not be seen.
- Next poke the needle in an angle through the main fabric piece from under the hem and also through the hem layers of fabric so the needle and the thread come up almost the same place as in step 1. By doing this, the thread should be wrapped around the edges of the fabric in one neat stitch. It’s important to pull the stitches so that they are snug but not overly tight.
- Poke the needle up in an angle through all layers as before, keeping a little space from the first stitch so that it comes up about 1/8" from the previous stitch. Continue this throughout the hems. To finish, poke the needle through the backside of the last stitch you made. Then loop the needle through this loop of thread twice. Now as you pull the thread tight, this should create a knot that is tight against the seam. You now can cut your thread free. Now you are done!

Step 3: Attach Border
How to attach the Border- Measurements for the 2 borders (single layer) - 15” L x W 12”. Cut this piece separately as mentioned in Step 2. Turn the wrong side and make it face the right side of the main fabric piece. Now with coordinating DMC thread attach these 2 pieces together with hand sewing the back stitch. The edge/ hem is about 1/4". For the other outer 3 hems use Whip stitch with 1/2 “ fold. Add Coordinating Trimming by using hot glue. After adding the border, the entire piece measures 11" W x 68" L.
Instructions - How to Back Stitch
- Begin the backstitch by poking the needle up through the fabric, and then back down to make a single stitch. Then poke the needle back up through the fabric a space away from the first stitch, as if you were doing the running stitch.
- Now poke your needle back down through the fabric at the end of the first stitch. This is the "back" part of the backstitch.
- Now poke your needle up through the fabric a space away from the previous stitch. You will then stitch back again. Just repeat this pattern of stitching and you are good to go!

Step 4: Adding Trim
Using a hot glue gun add trimming to the main fabric piece.

Step 5:
Decorate with your favorite scented candles or any centerpiece to make your table more festive!

Feeling Extra Creative? Add Even More Color! 🌈
Try making your table runner with TIE DYE! We just added a limited edition of sari fabric that has been over-dyed and tie dyed! Get this pack to bring lush jewel tones to your project.


